Sub-Sonic Obsession

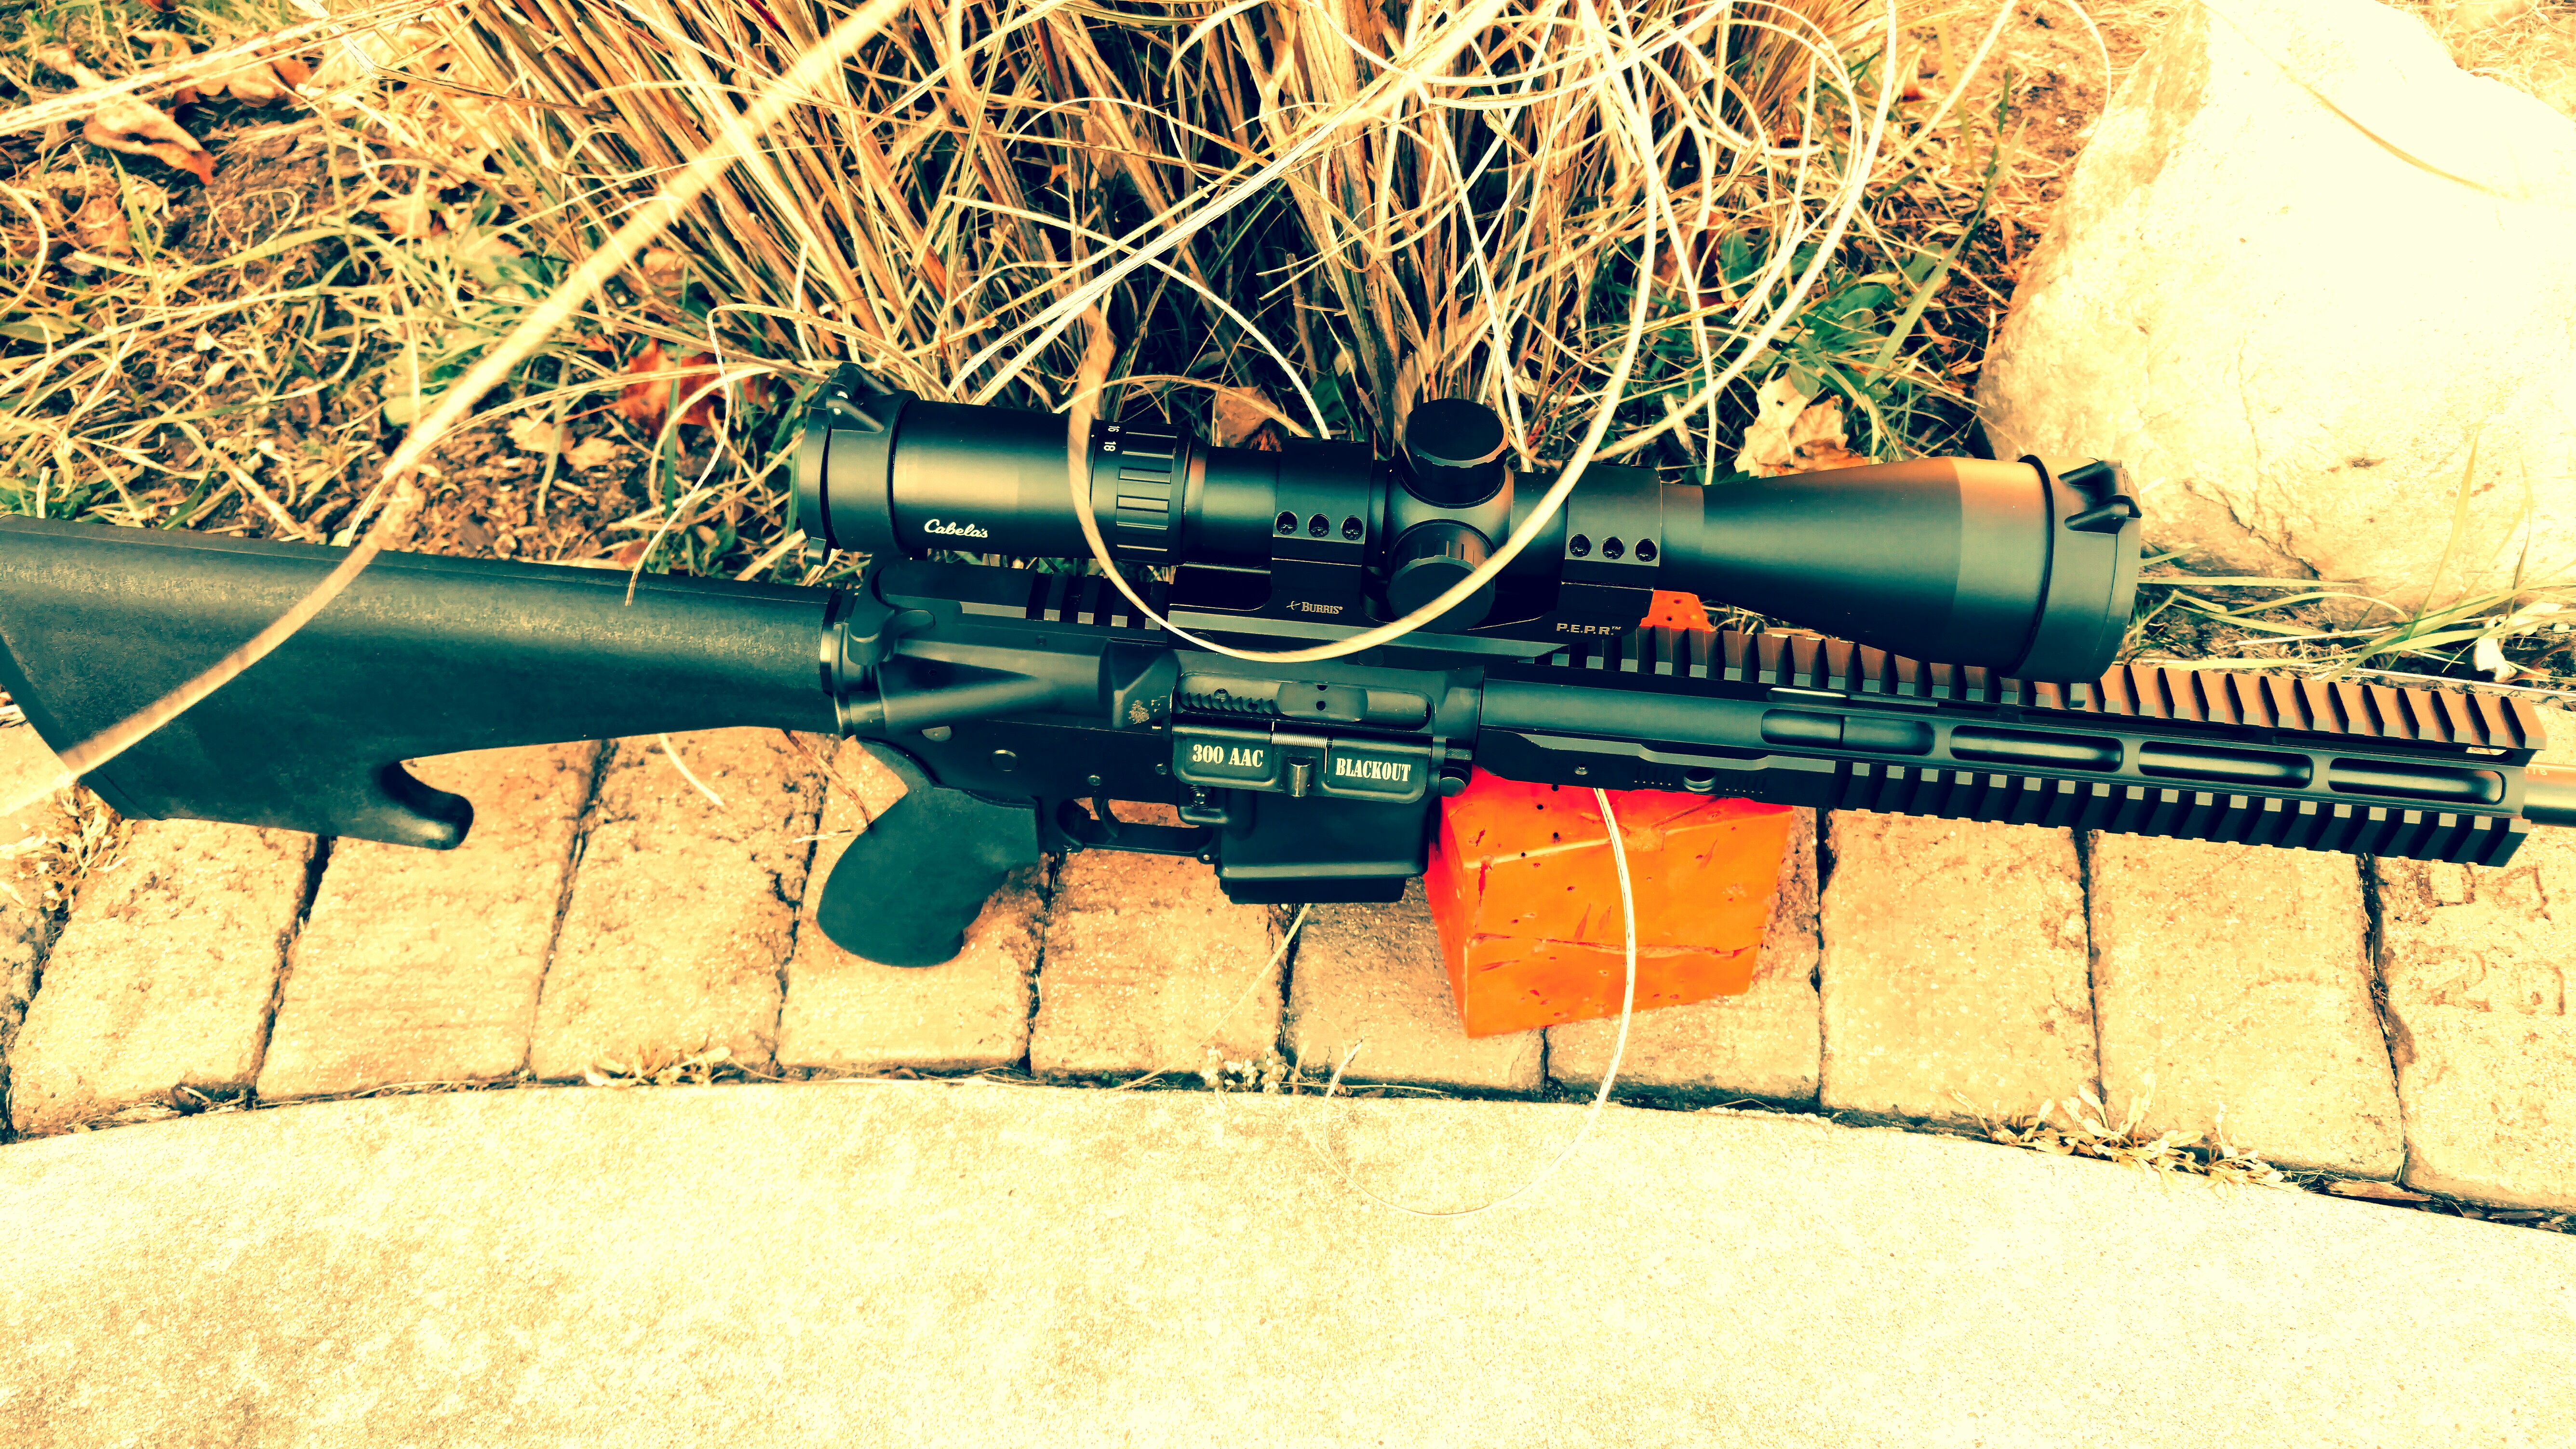
300 Blk Sub-Sonic Obsession 

300 Blk subsonic at 100 yards provides all the challenges of high-power cartridges at 1000 yards

-Author unknown-

To start off any discussion on this cartridge credit needs to be given to JD Jones who created the 300 Whisper cartridge.  As a wildcat cartridge, JD Jones had sole rights to who chambered for it. Fast forward to Kevin Brittingham who approached JD Jones to SAAMI approve the 300 Whisper cartridge only to be refused. Kevin Brittingham changed the case design slightly and named it the 300 BlackOut. Once SAAMI approved, it is now available on a large commercial market.

The 300 Blk is a cartridge that ballistically preforms well from short barrels down to 5 inches. Either super-sonic or sub-sonic it’s a hand loaders dream or nightmare. If you deep dive into the subsonic sub-minute accuracy node, like any cartridge, you will need to find the powder that is best suited for your bullet/primer/case combination. One of the most important componets of an accurate load is the cartridge brass. How you prep the case will show up on paper out to distance and this is where attention to detail will reward you with consistant groups.

Brass:

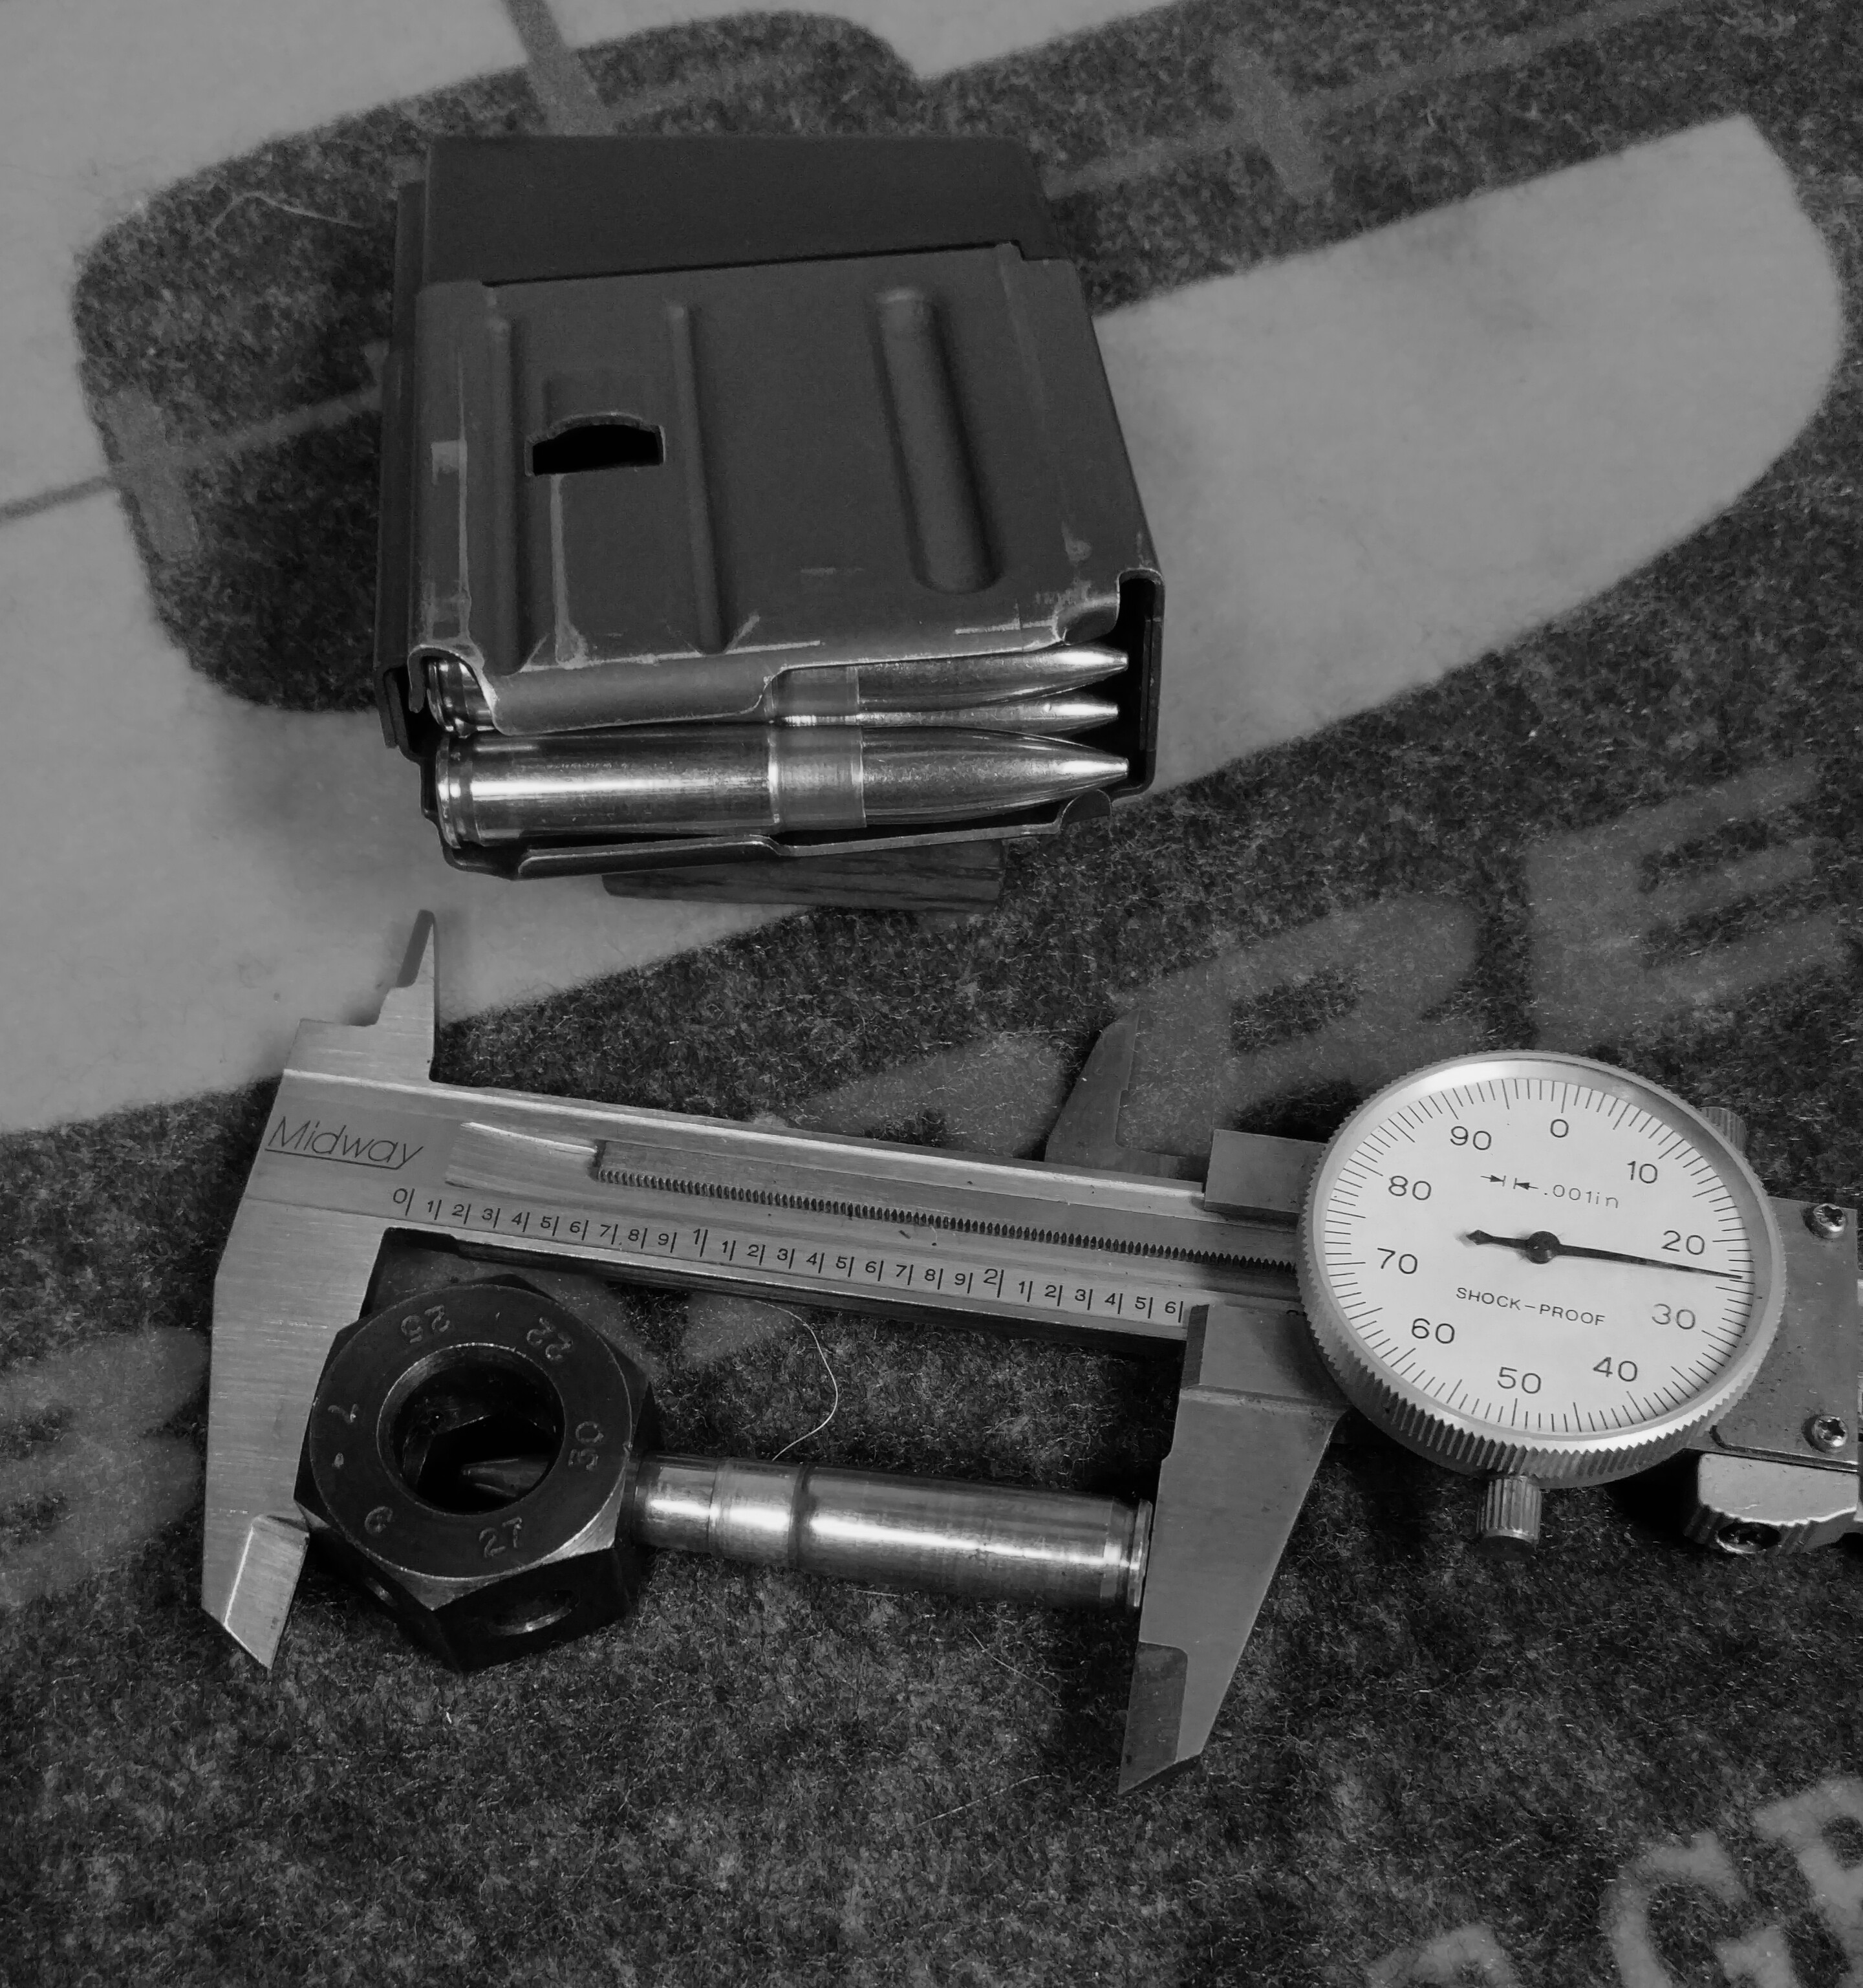
Commercial 300 Blk ammunition provides a means to obtain workable cases for reloading. I prefer to convert my own brass from military 556 cases. Federal or Lake City will yield thicker case walls resulting in slightly lower powder charges needed to obtain a benchmark 1050 fps velocity. First cut the 556 case at the shoulder to a measurment of 1.370″ from cartridge base to neck then anneal the case neck to soften the brass for case forming to 300 BlackOut.

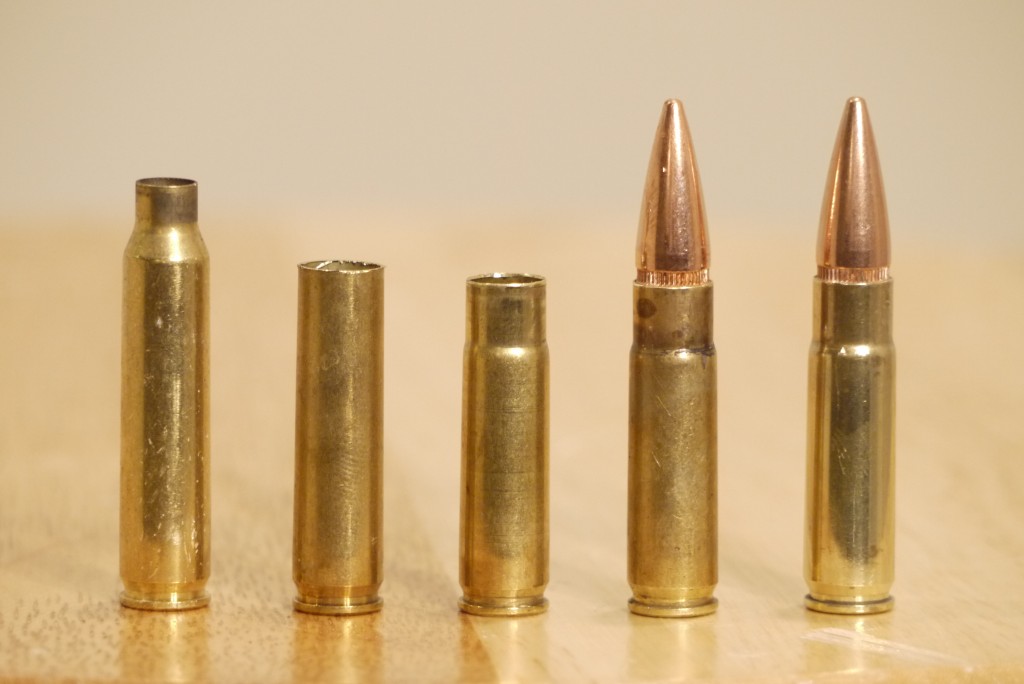
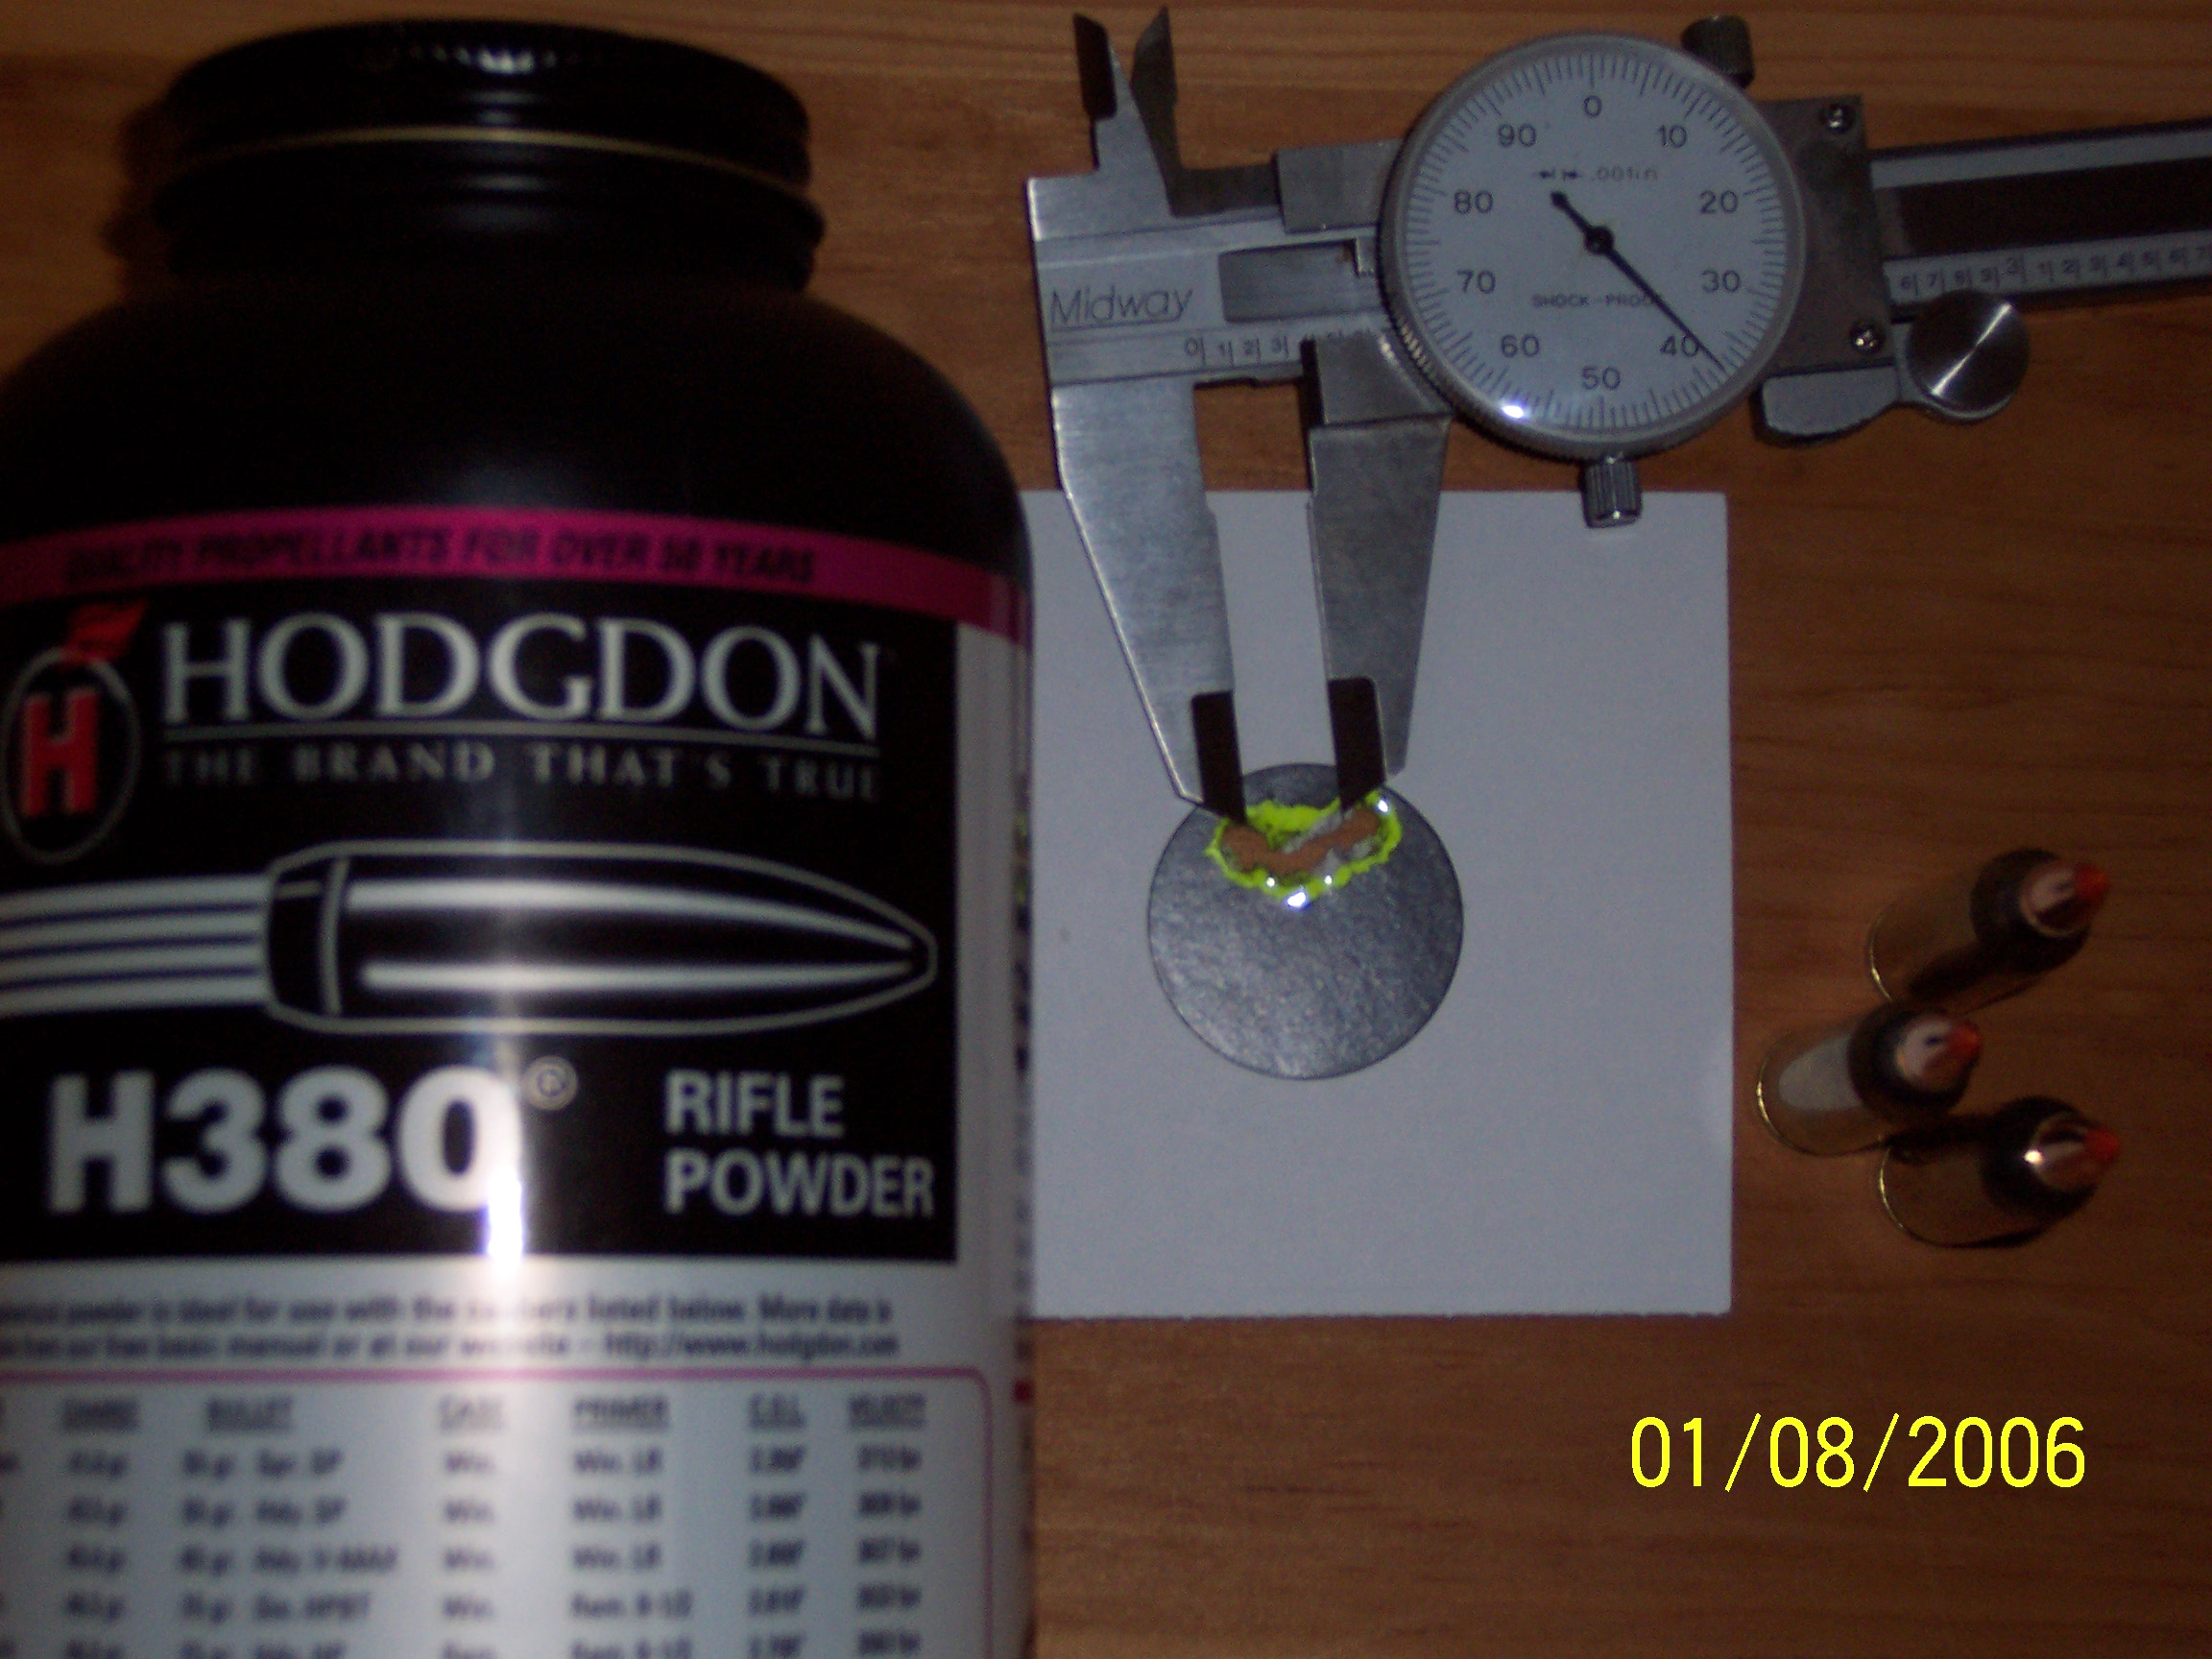
With a pass through the full length 300 BlackOut sizing die, the case looks good . . . not quite yet. Case necks will need to be turned to a thickness of .012″ as this will give a final neck outside measurment not to exceed 0.335″ with a seated .30 caliber bullet. Trim the brass to a overall lenght of 1.365″. This is close to maxium length, however, subsonic case stretch isn’t an issue. With brass formed, you can debur inside flash holes and sort cases by weight and headstamp.
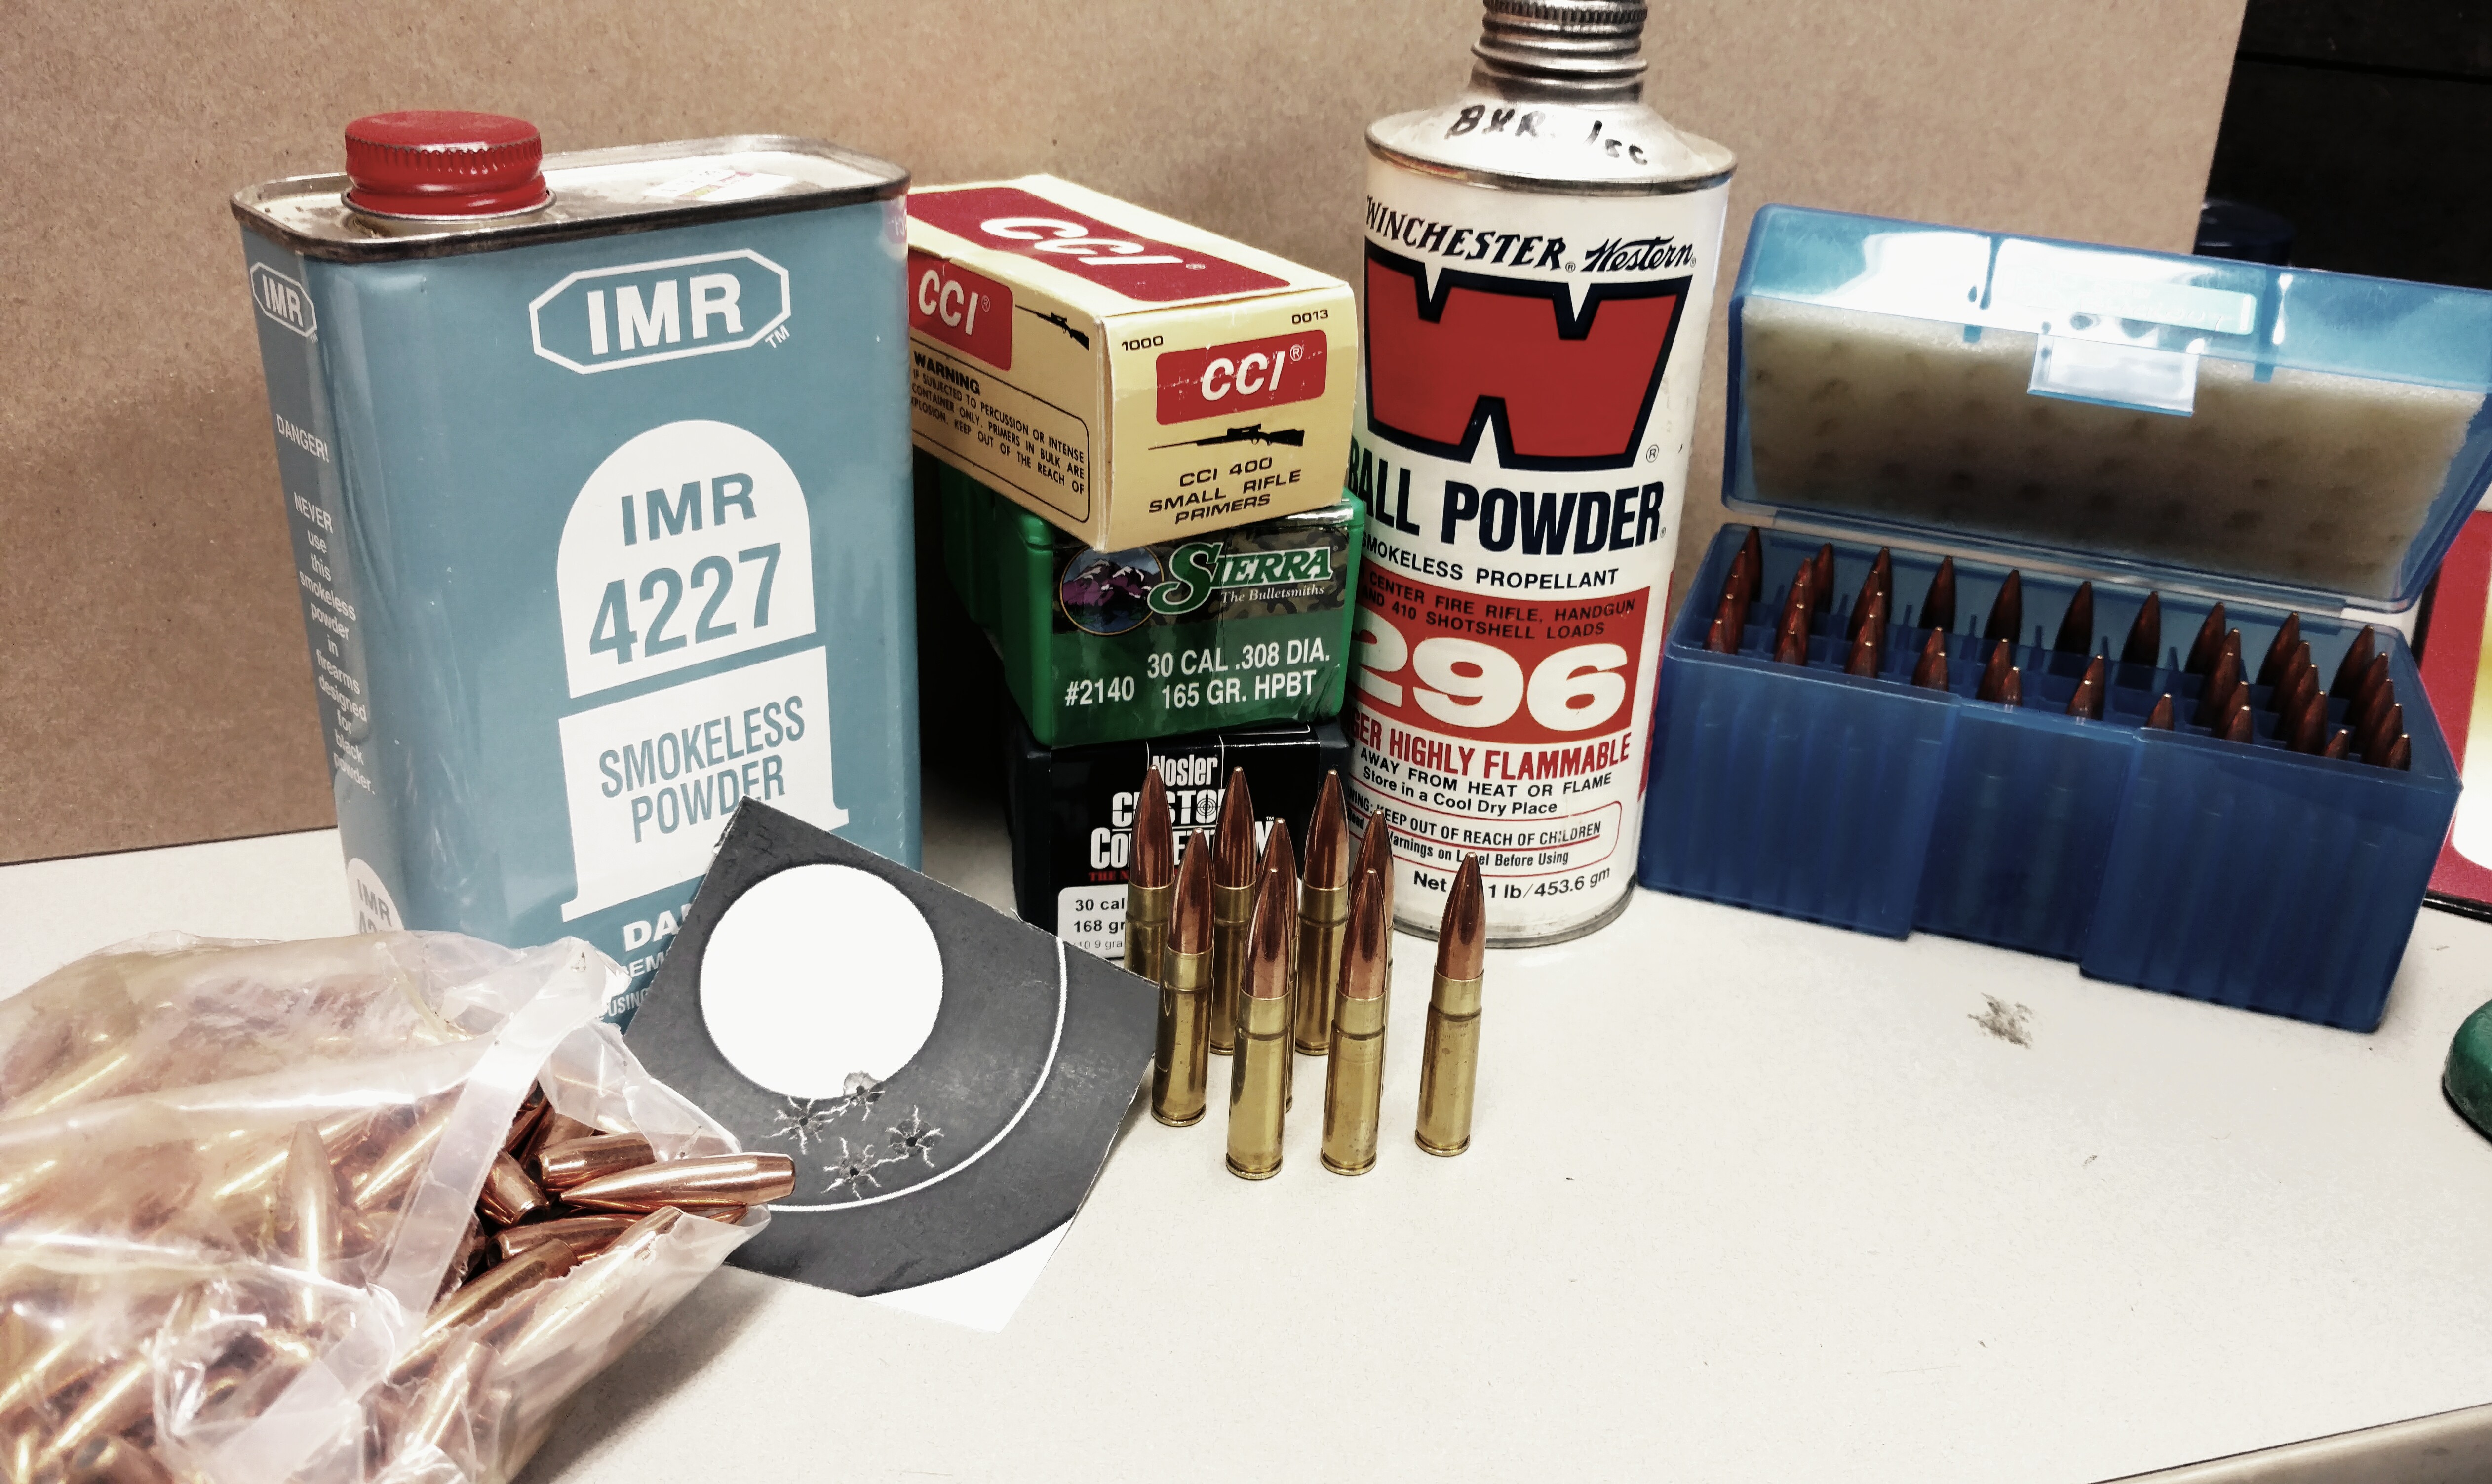
Powder / Primer:

I suggest you reference a manufacture load book for safe starting subsonic loads. The use of a chronograph is mandatory as you want to hit the sweet spot velocity range of 900 -1080 fps. Some powders are cleaner burning than others at reduced charges that are used to stay subsonic. Primer choice will move velocities up and down adding to the journey to the sub-moa obsession.

Bullets:

A very important key player to heavy bullet stabilization is the twist rate of your barrel. 1-8 is the most common twist rate you will find with the faster twists providing better stabilization. 1-7 twist rate is less common and the 1-5 twist you would need to source. Let me clear up that twist rate has no adding factor to velocity as it only improves rotational spin of a projectial creating greater impact trama. I load 180 & 200 grain bullets for subsonic work with an added coating of Hbn. Both 1-8 & 1-7 twist barrels group equally well.

Once I receive bullets, I will sort them by Ogive to base measurments as this bearing surface measurement has a direct influence on pressure. You need consistant bullet pressure with load groups.

Bench consistancy:

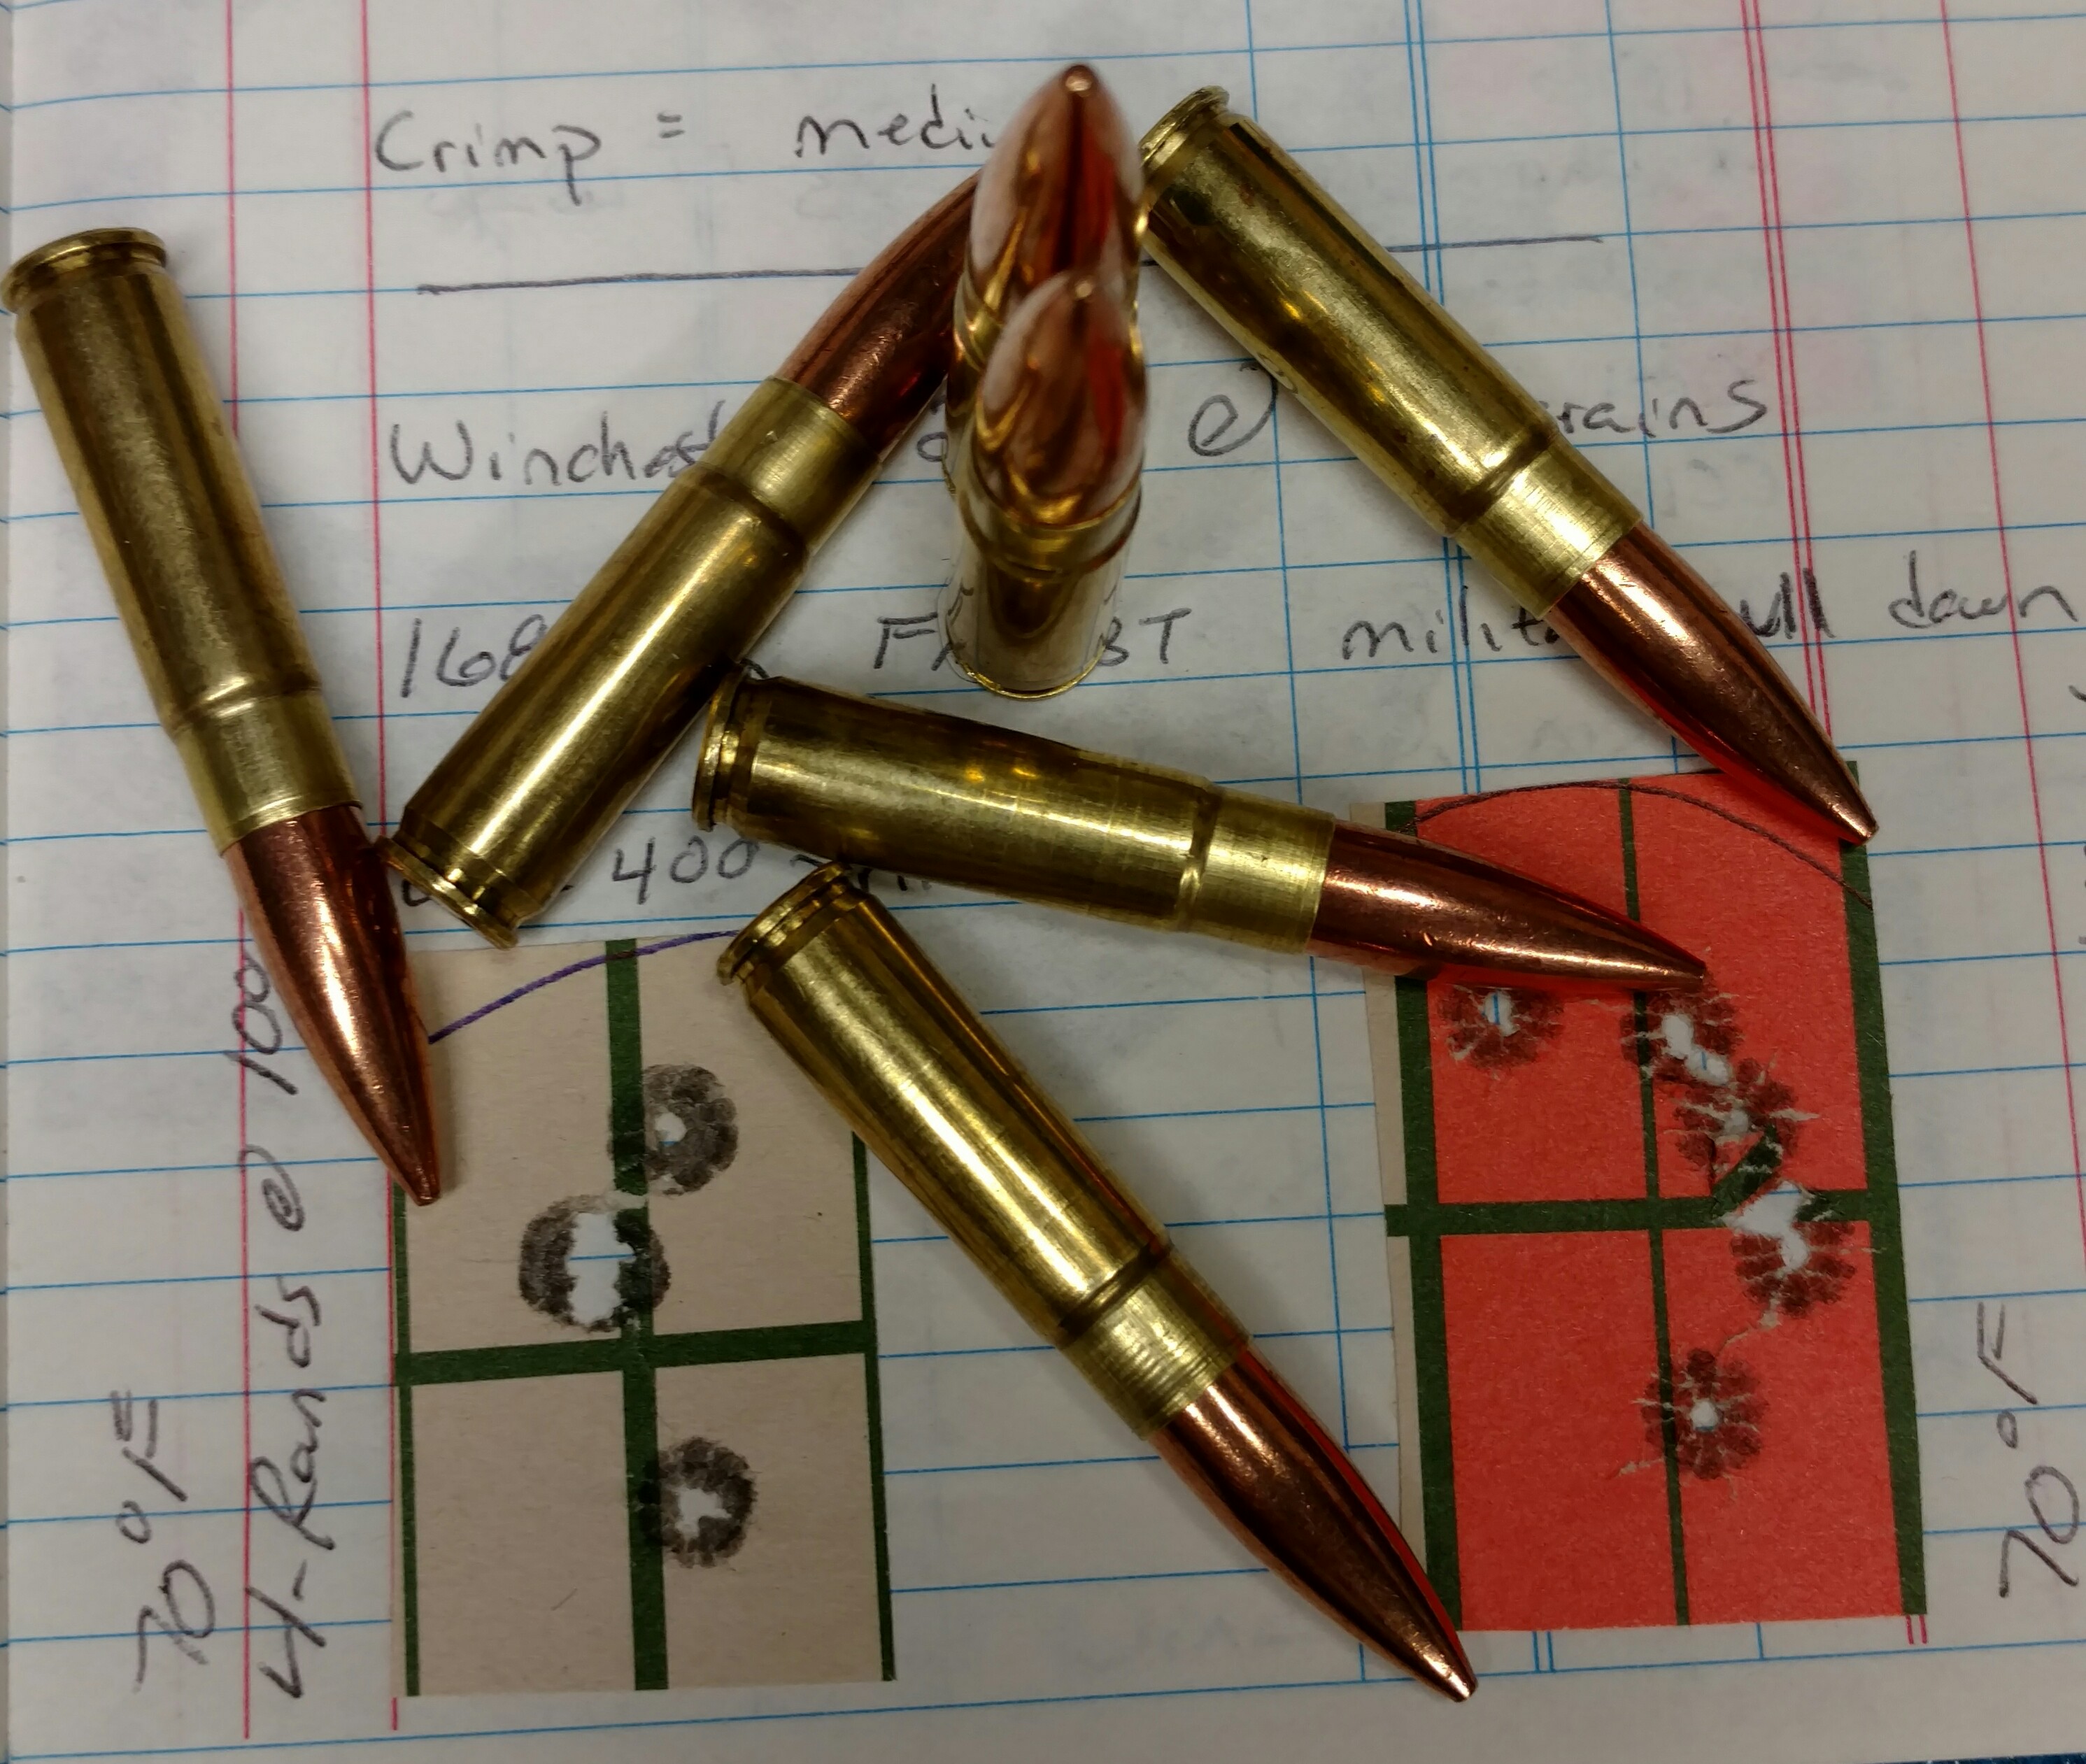
At the bench you must pay attention to fine detail. With all brass sorted in lots, continue to separate when seating primers as some will seat easier than others. Separate as best you can. Powder charges must be measured for each case and trickled up to the desired weight. Do not just throw a charge into the case as shown on too many videos! 1/10 grain of powder at subsonic velocity IS a big deal! it will throw a shot out of the group. Seating bullets need to be sorted by feel of tension of ram stroke. The exception is if you are crimping the bullets after seating. I have tested many rounds for accuracy of groups just by altering crimp tension. A rule of thumb is if you crimp adjust, crimp for accuracy.

The videos show how case prep and a detailed loading process will work on any bullet. Yes even cast plated ones.

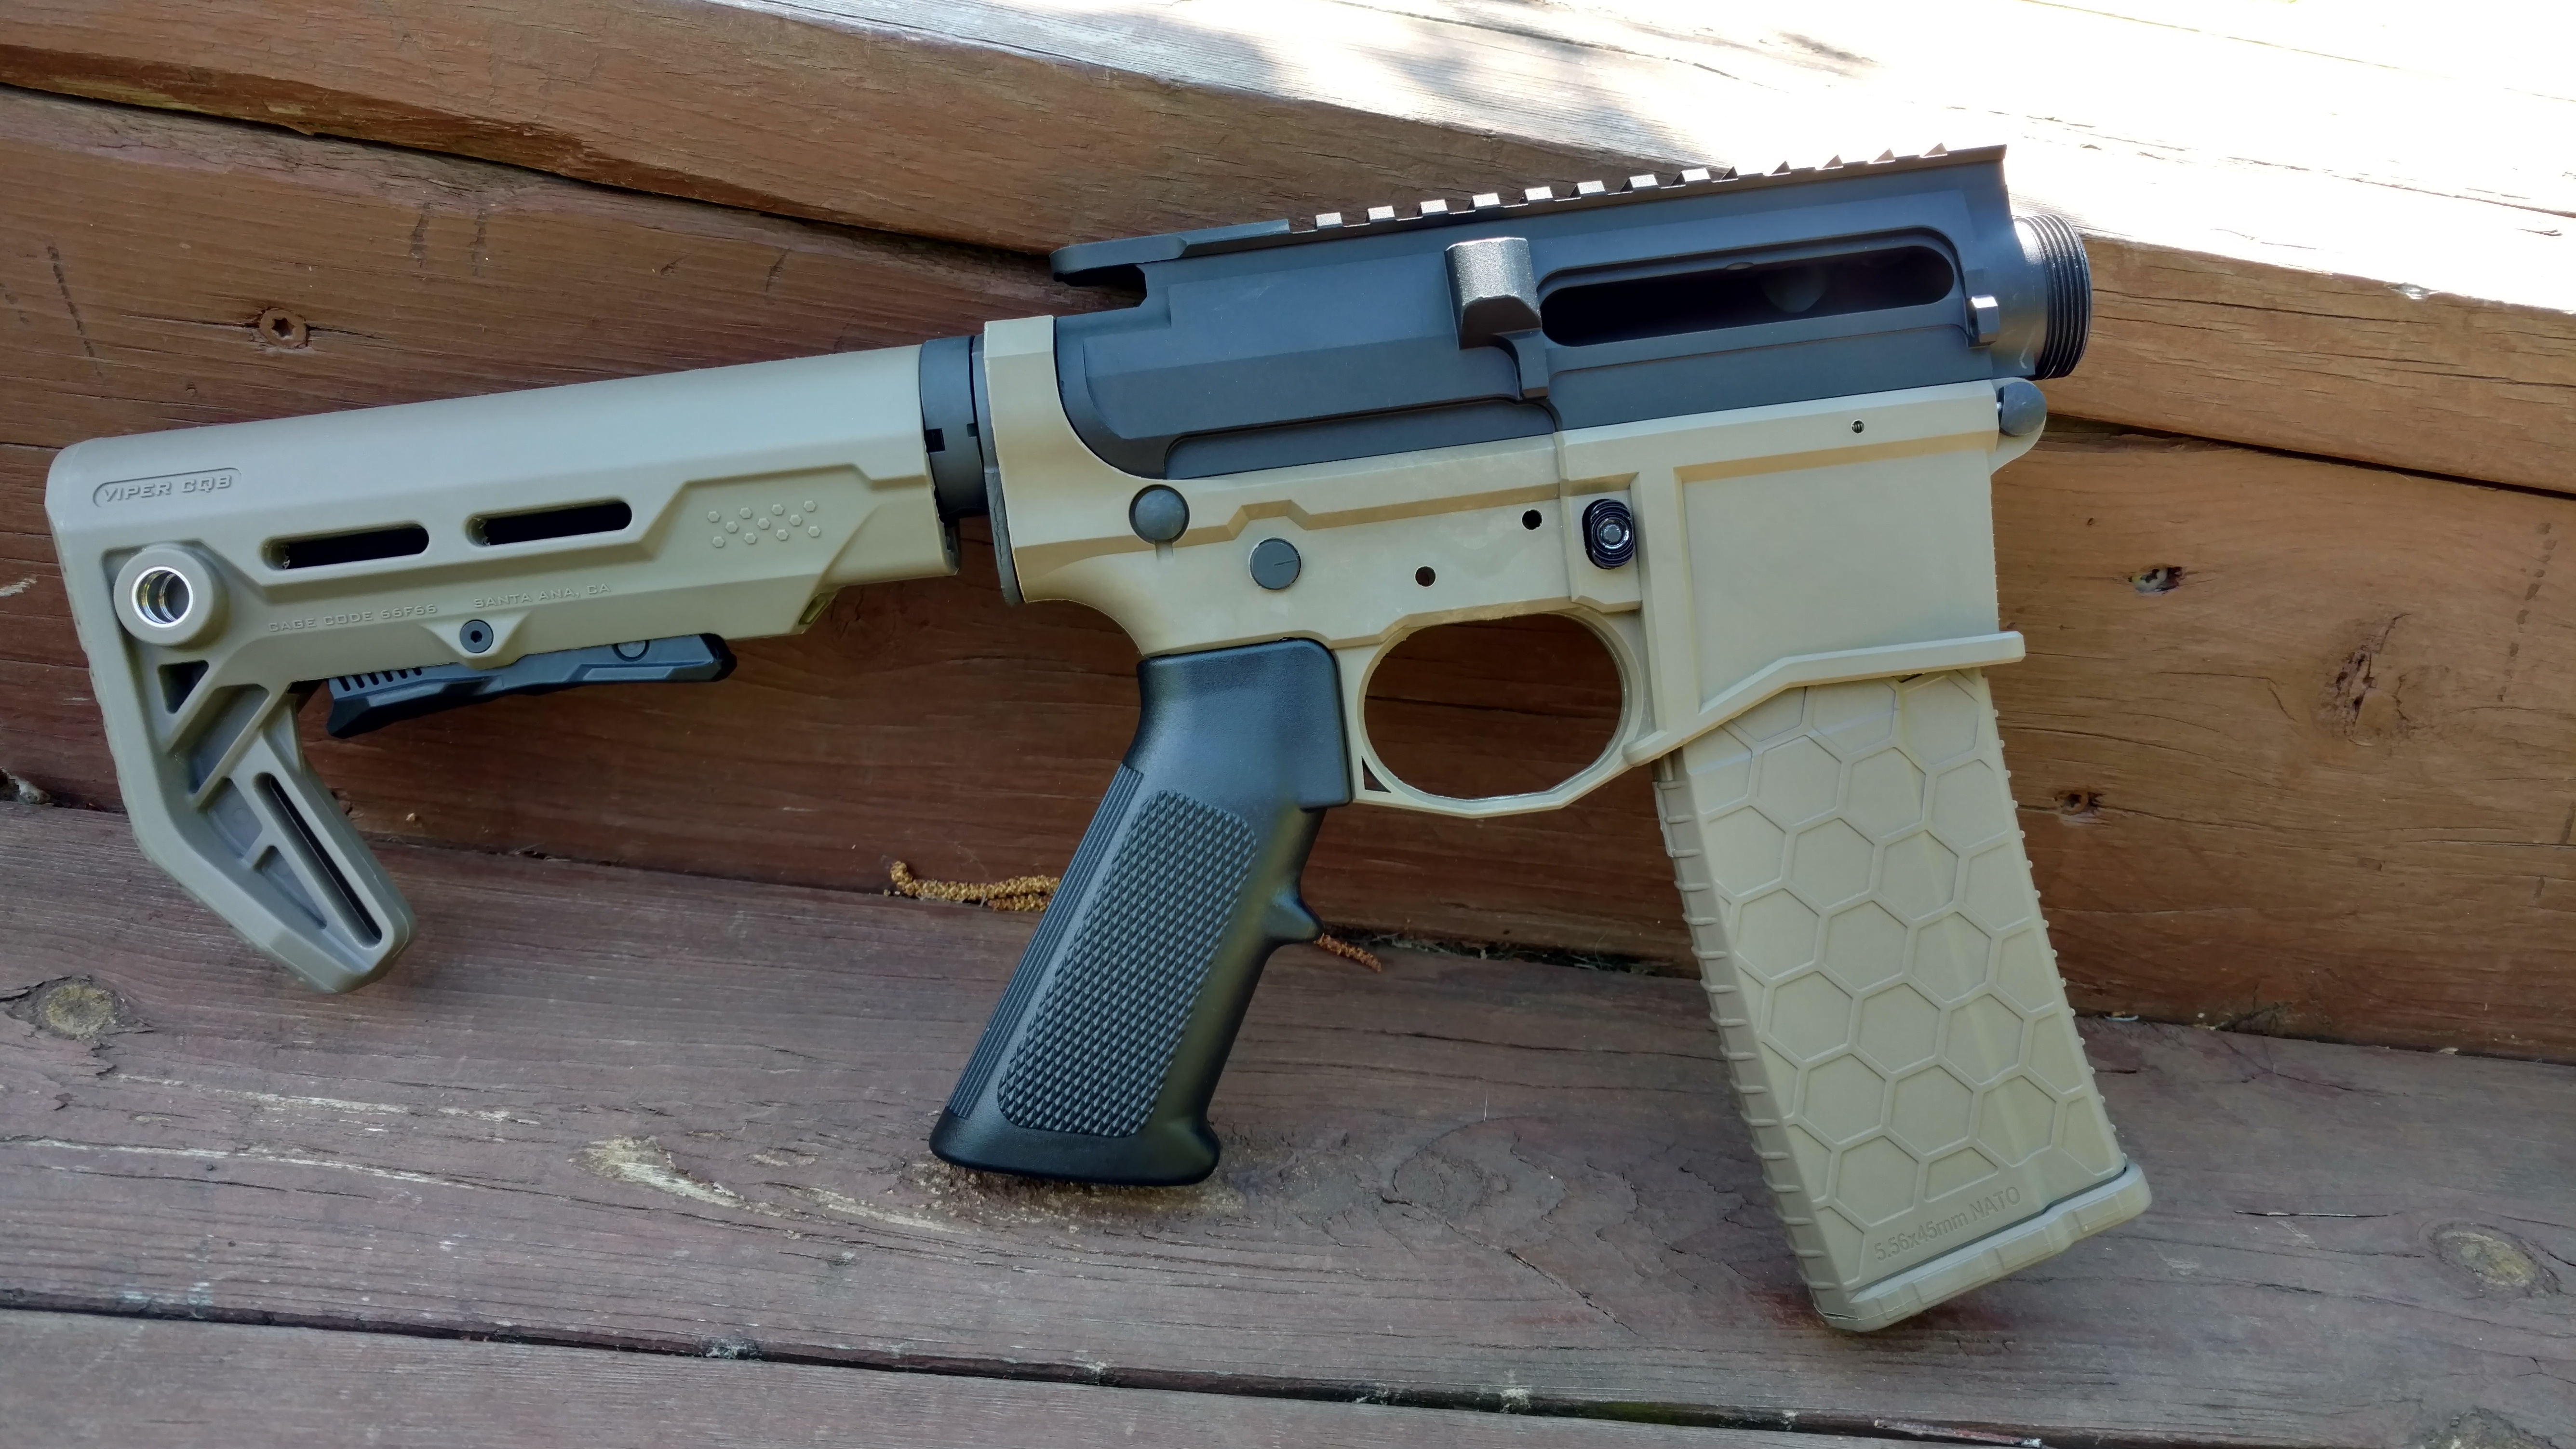
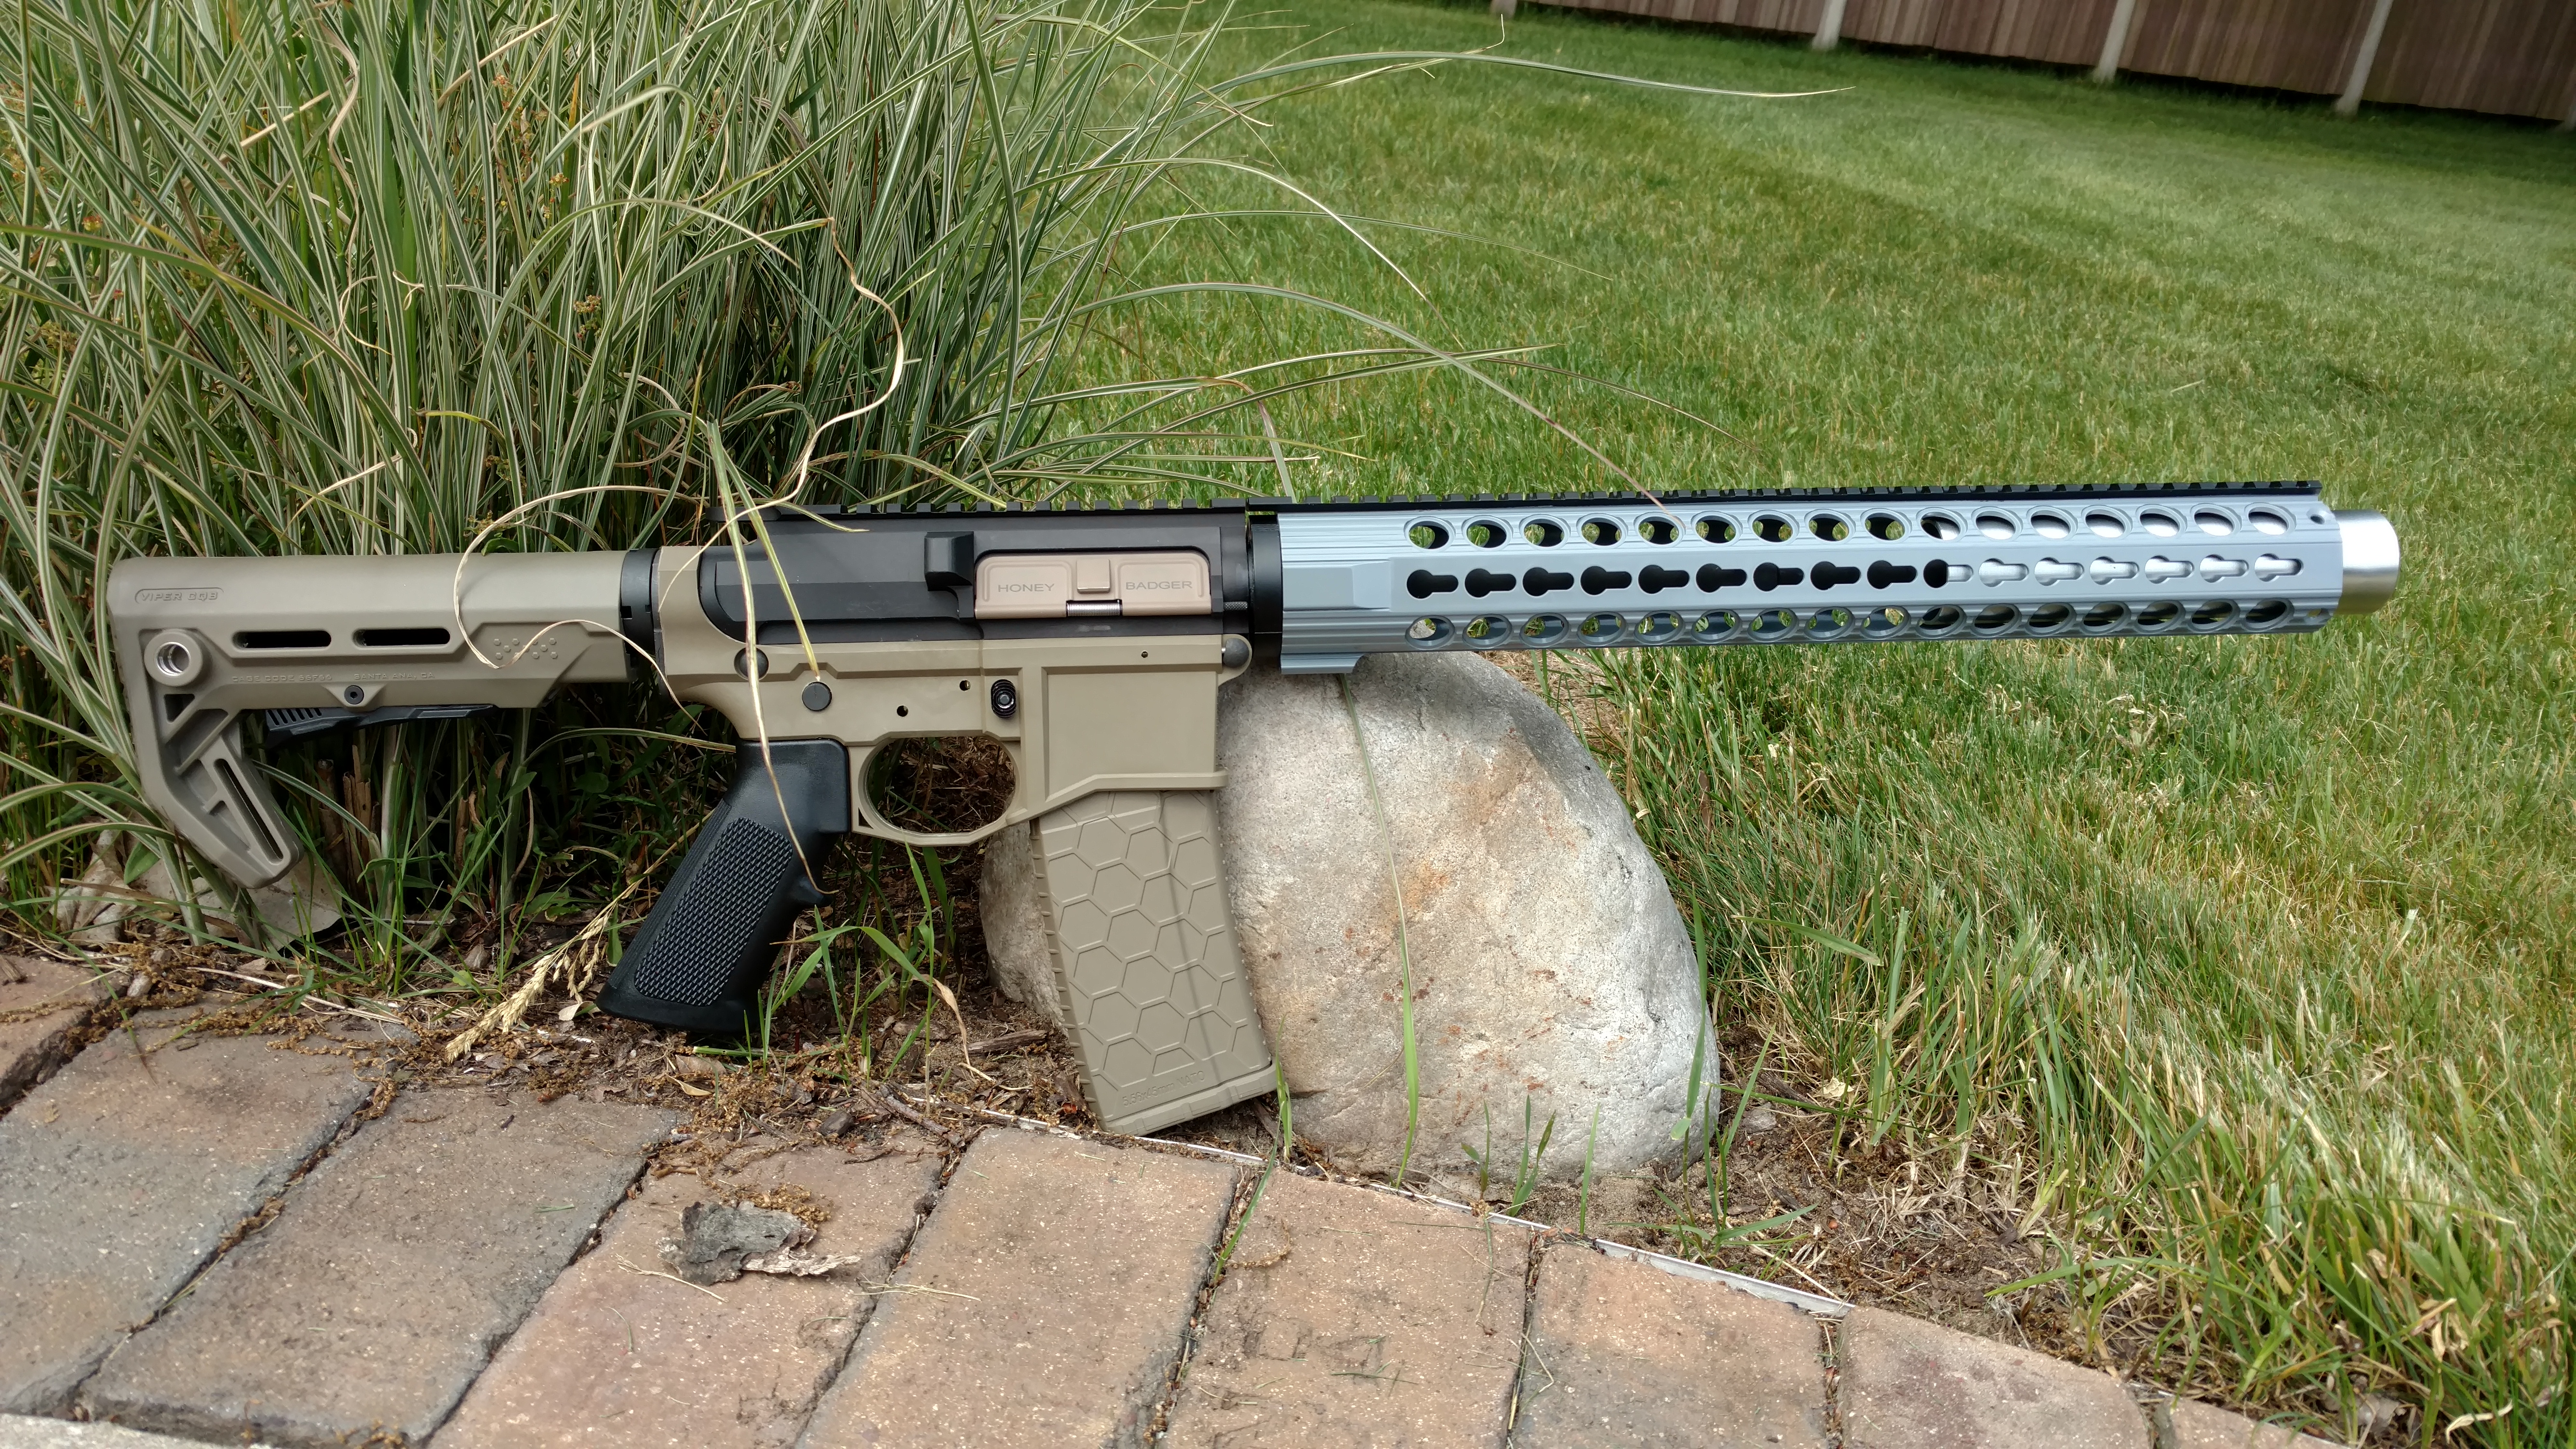
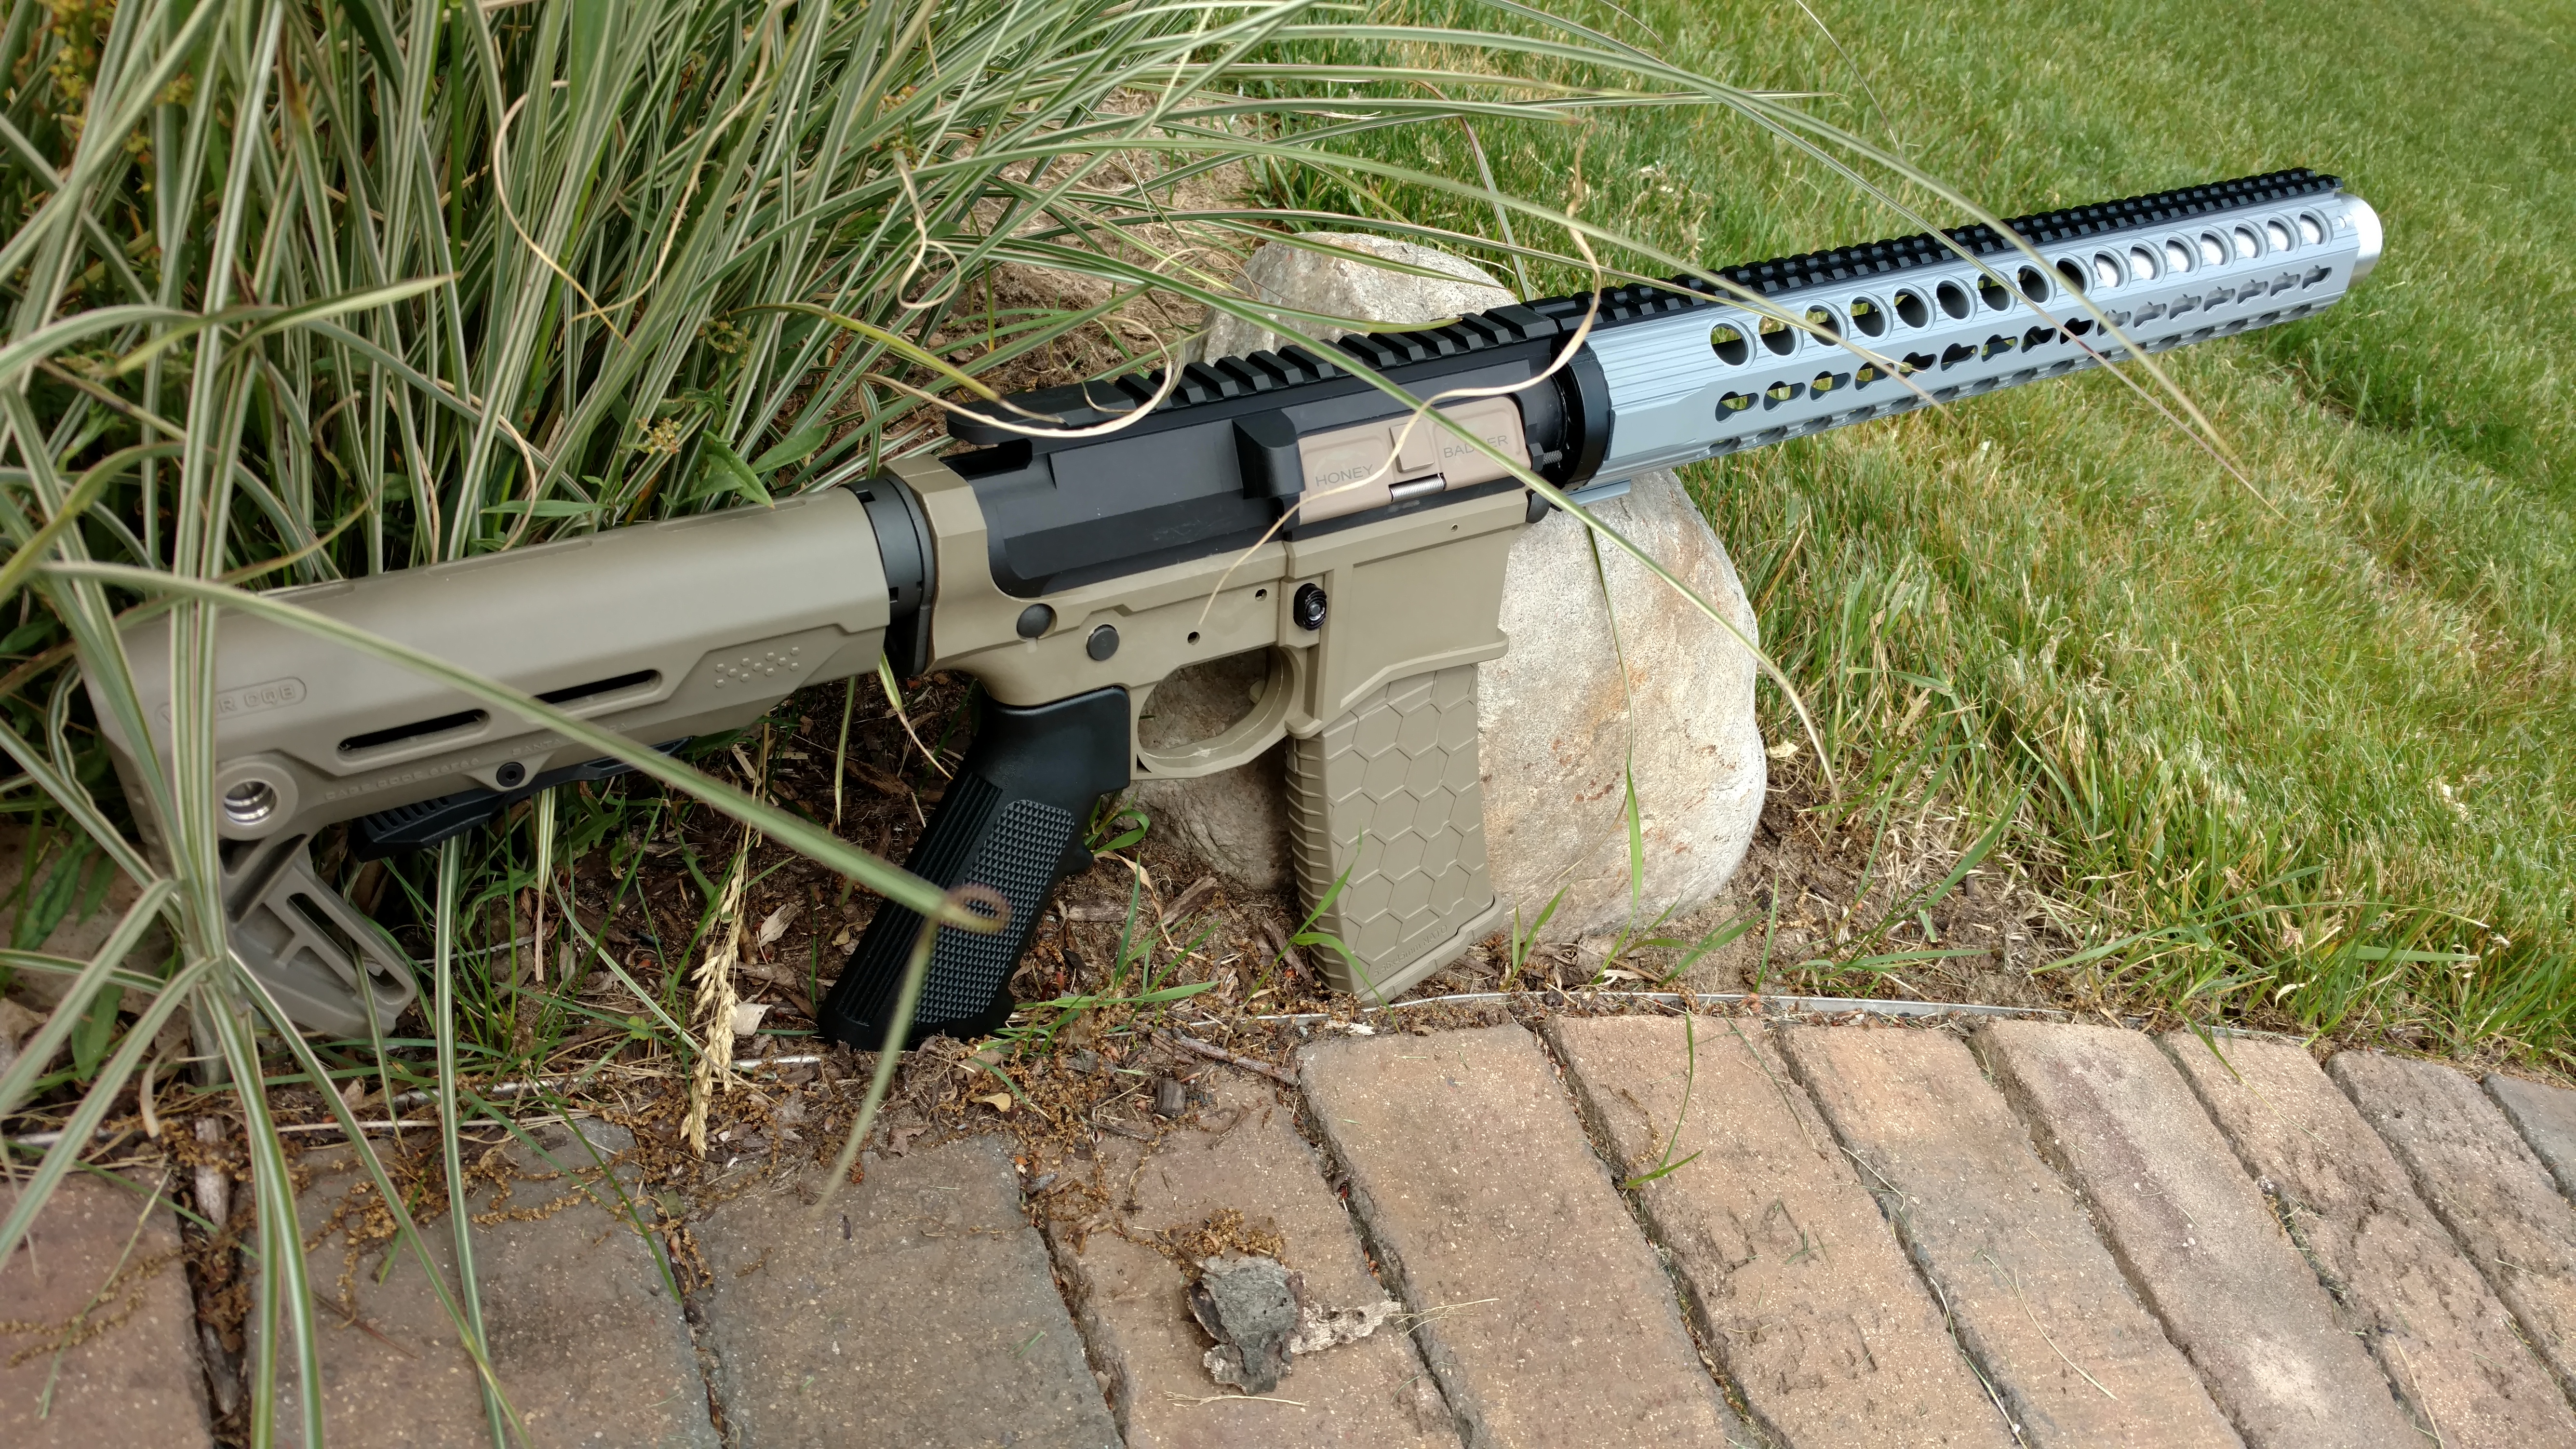
Bolt guns will be easier to find the accurate load, however, this article is directed to semi-auto guns. Lets take into consideration you did your homework and bought or assembled the correct 300 Blk for subsonic sub-moa work. Bolt carrier speed, twist rate, gas port size and location along with buffer spring rate will all play important parts in correct function with subsonic ammunition. 

Records:

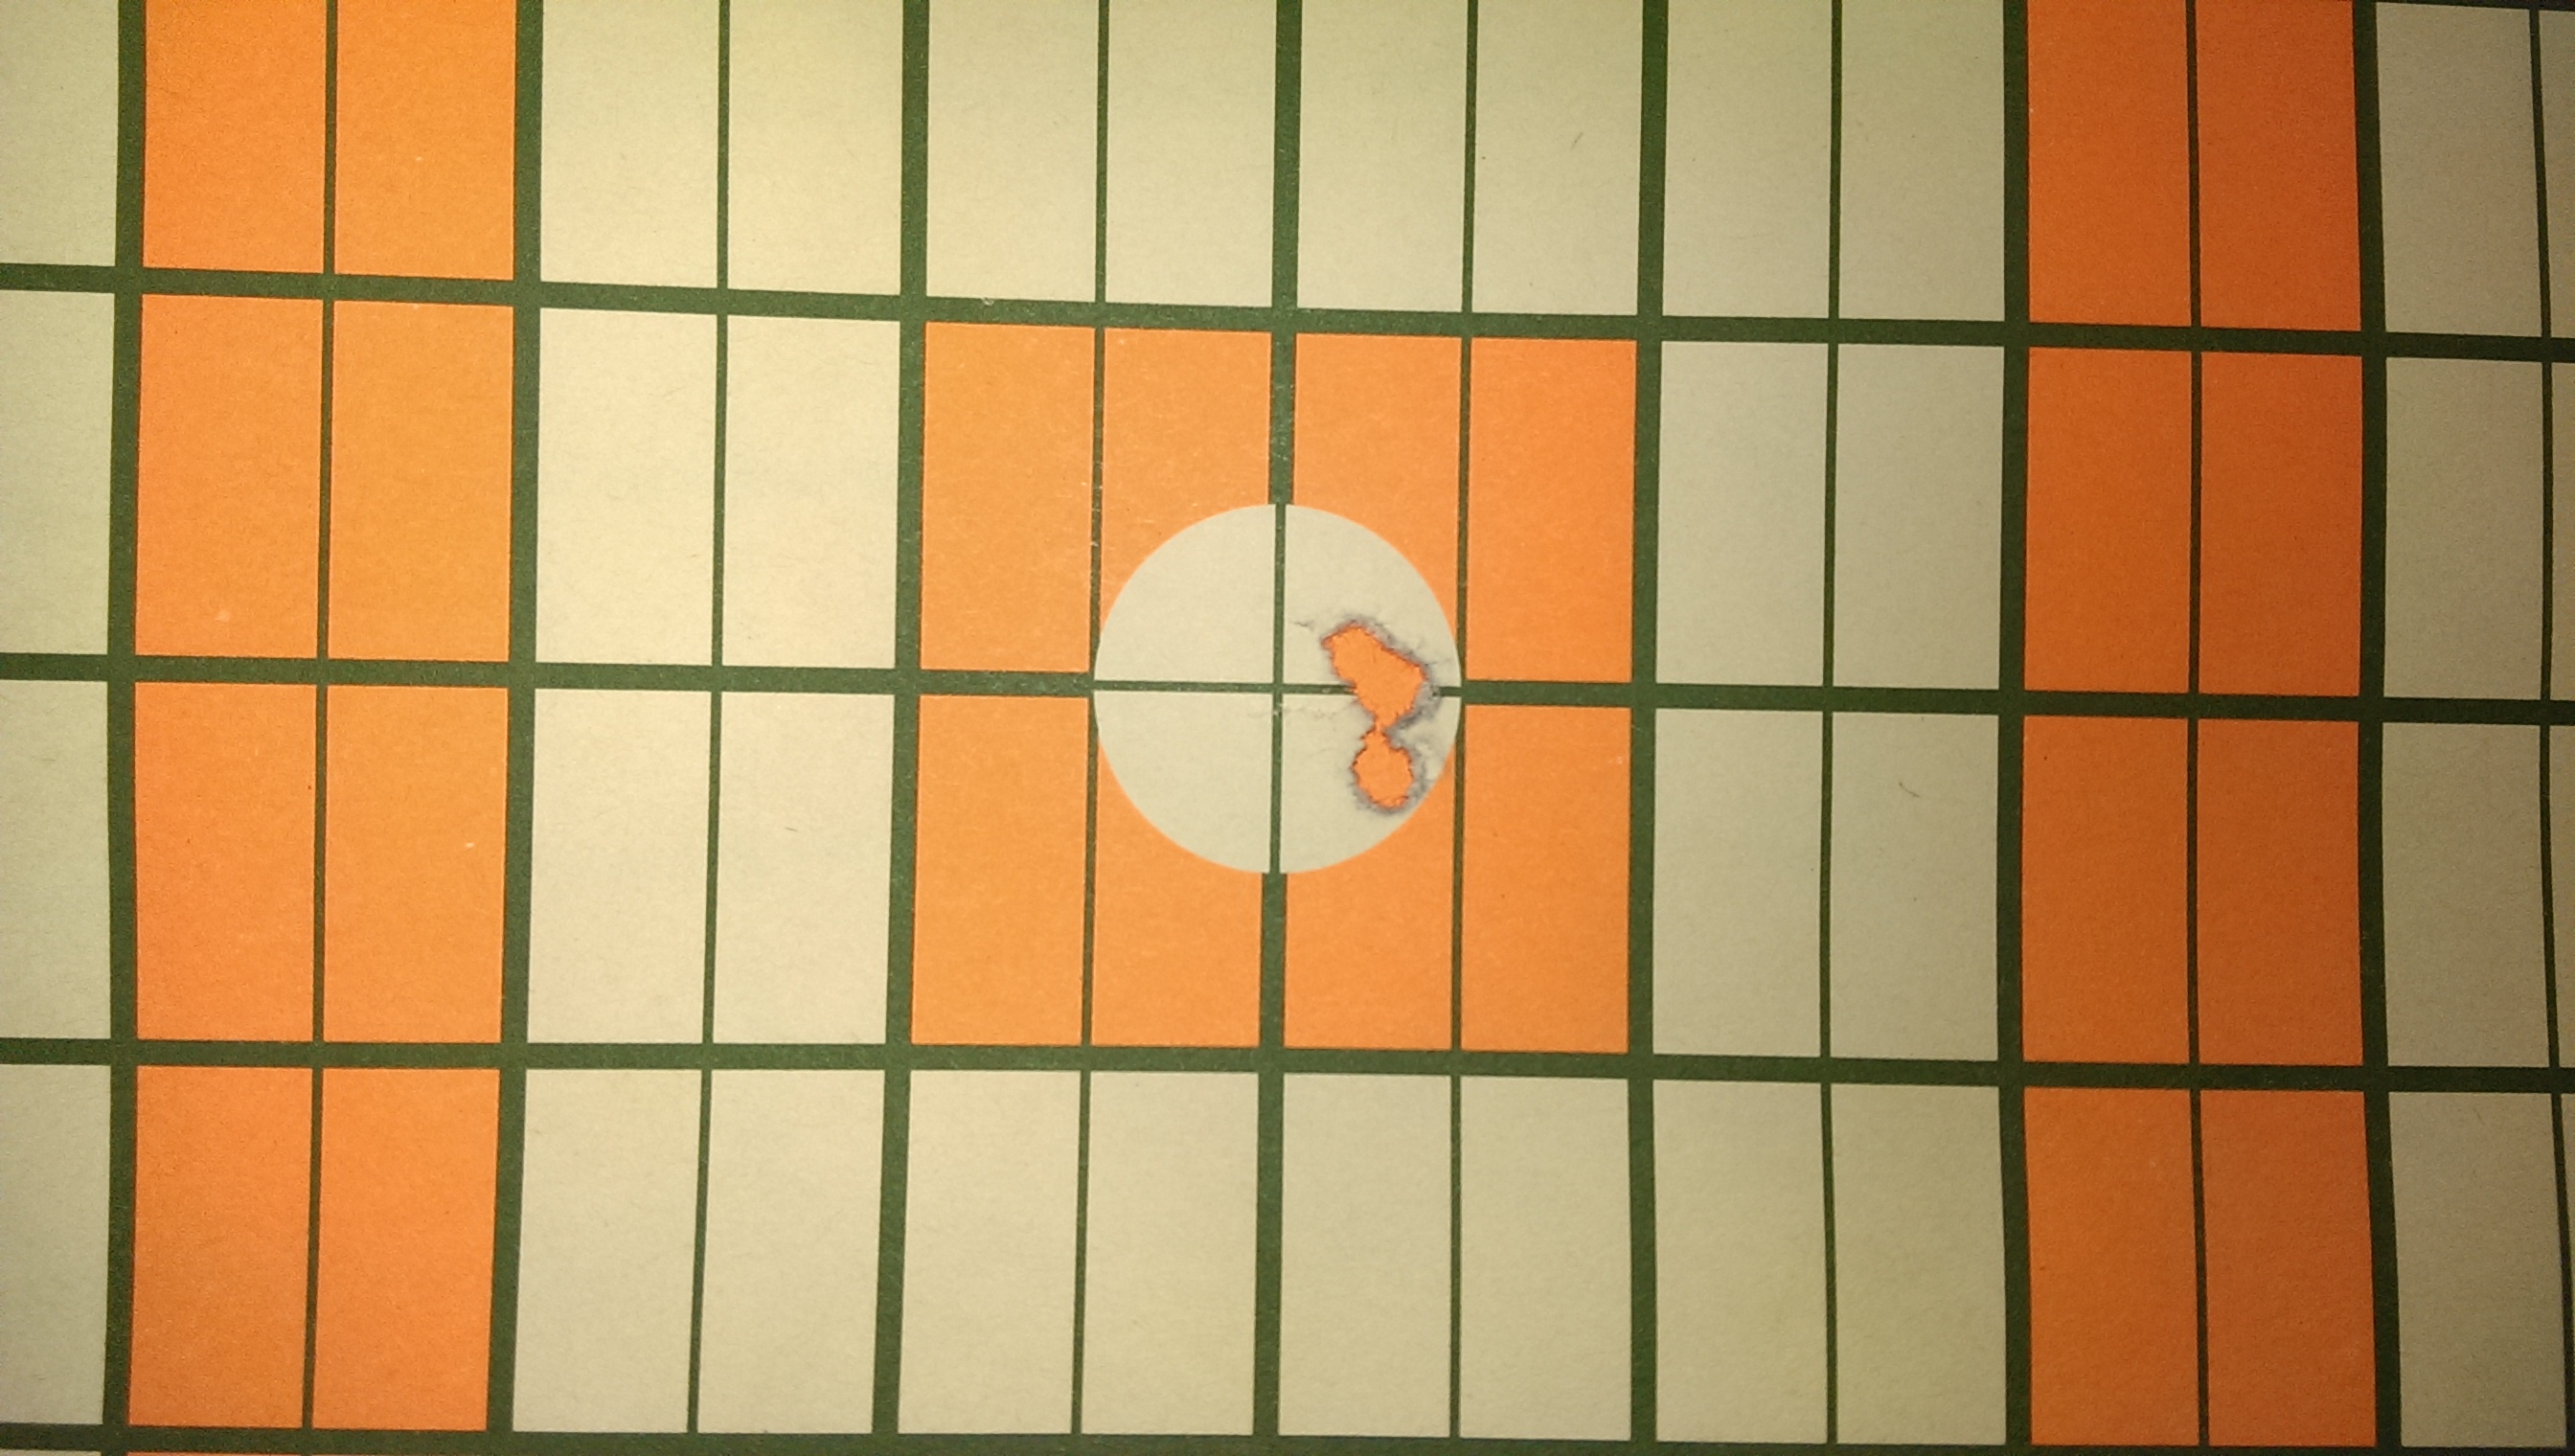
Detailed records of powder and charge weights along with case shoulder bump, seating and crimping will provide good info to log. I also list the date, weather conditions, velocity, extreme velocity spread and standard deviation. With fine tune adjustments to an accurate velocity node you can shoot inside the subsonic sub-moa realm. It will not be a quick victory to reach, but the journey is just as exciting and knowledge gained will make furture testing easier.

Support your Second Amendment rights and be heard when threatened with disarmament.

Load up some subsonic ammunition and shoot under the transonic zone!

Right On Dead On All The Time

Leave a comment

Filed under Uncategorized

HI-LUX PENTALUX TAC-VF FFP 4-20×50 GEN 2

New optics are always an intriging venture. You look at several brands and models all while gazing through the glass dissecting the reticule. Covered turrents or exposed?  You turn knobs determining if the audible clicks are loud (I’m going to say tactile) enough. First or second focal plane? How much magnification is enough? Overwhelmed with choices? Lets take a look at Leatherwood Hi-Lux optics PentaLux series.


If you are like me, I will swap a scope around to several rifles until I find the one that fills the need. This time the need was for a daily varmint shooter 204 Ruger Custom Mauser M98.


Choices have never been greater than now to mull over a new optic. If you haven’t looked through optics from Hi-Lux you are missing out on some quality products!

Hi-luxoptics.com has an Academy page with helpful information to walk you through the decision process.


https://hi-luxoptics.com/blogs/hi-lux-academy/ffp-sfp-explained


https://hi-luxoptics.com/blogs/hi-lux-academy/scope-mounting-practical-methods

Right On Dead On All The Time


Leave a comment

Filed under Uncategorized

New Eyes For An Old Woodsman

You never know what someone will bring in and slide over on the counter. I opened the case and a classic Colt Woodsman Target model 22LR wearing a very good blued finish was neatly tucked in a foam insert. This pistol was obviously well cared for and the owner wanted better sights since his ageing eyes of 87 years couldn’t focus quick enough to acquire a good shot placement. He did mention that whatever work I did, I couldn’t reduce any value to the pistol and with a fixed front blade sight and an adjustable target rear sight I started with the normal questions. What’s the price cap on this project? Are you ok with better irons or do you want an optic? His eyes squinted an optic, a scope? I began to explain the benefits of a reflex sight as seen on so many semi auto pistols today. Explaining dot size purpose and once zeroed the dot can be anywhere in the viewing window. He was sold on the reflex sight suggestion as aiming was just as easy as placing the dot on the critter and sending some lead. I made the commitment to not reduce the value of the pistol. Any idea of drilling and tapping mounting holes in the slide would not happen. I removed the rear adjustable target sight to expose a 4mm deep groove that housed a slide stop plunger and a 6-64 sight elevation screw hole along with a cross pin hole. After searching the internet I didn’t find any bases available for the model. Milling a block of steel was my only option. It would serve as an optic base and could be placed in the 4mm deep groove secured by the 6-64 screw and an additional use of the cross pin would keep the base solid with the slide. Keeping the rear target sight complete, I ordered another 6-64 screw purchased at www.gunpartscorp.com part # 184600

Colt Woodsman pistol as delivered


The base started out with a block of scrap steel measuring 1.5” x 1.25” x 10/32”. First the base insert needed to be fit to the slide groove and a sight deck thickness determined. With the use of 6-48 screws to mount the reflex sight I made the sight base deck a thickness of 0.106”. Milling the block of steel with a strip measuring 0.157” wide and 4mm tall ended up with a “T” shaped base that fit the slide groove. A feature of the Woodsman slide is a button slide stop located in the groove where I plan to mount the new sight base. This button is used to lock back the slide when no magazine is inserted, however, the slide can be locked back with an empty magazine inserted then removed after the slide is locked to allow that function. I first needed to determine the measurement of the 6-64 screw hole in the new base and that was at 0.452” from the rear of the new base. The 6-64 clearance hole will be the reference point for two additional hole locations on the new base. With the base drilled for the 6-64 mounting screw I measured the slide stop clearance hole to be 0.474” further forward and drilled a 0.200” diameter hole to a depth of 4mm, as not to drill thru the sight base deck. The slide stop button clearance hole in the new base will only cut halfway into the 0.157” wide sight base as the lateral centers are 0.109” apart.

    Location of slide stop button for relief cut


Fitting the new sight base required filing to contour the front bottom portion of the new sight base to fit the slide groove. With both clearance holes drilled, I counter sunk the 6-64 screw for a proper thread depth engagement into the slide and test fit. Careful filing and fitting gave a snug fit of the new sight base into the slide groove.  With the base installed, center punch the cross-pin hole location, remove the base and drill a 0.060” clearance hole for the cross pin. Once satisfied with the new sight base fit into the slide groove, a reflex sight needs to be determined as that will position the two 6-48 deck holes. Finding a reflex sight with simple to use functions and one button push for all operations had me calling ADE Optics www.opticsfactory.com and a compact mini Crusader part # rd3-009 was ordered. The sight base deck will be oversize for a mini reflex sight, allowing you to center the optic then marking the holes to be drilled and tapped. Once the 6-48 holes were finished, I shortened the reflex sight mounting screws for a flush fit to the bottom side of the sight base deck. With the reflex sight mounted, I scribed a line around the reflex sight on the base deck to serve as a reference line while filing excess material away.

New sight base dimensions

Reflex sight, new base, 6-64 screw and cross pin


With the new sight base finished and smoothed, I applied a cold blue using http://www.brownells.com Oxpho-Blue #082-024-032WB. I have been using this product for many years and am very happy with the durability and finish. The reflex sight was installed and a range trip was up next to zero in the optic for 25 yards. Adjustments were quick and positive and after zeroing the Woodsman I ran a full clip of .22lr into a shoot-n-see target to present to the Owner with the newly converted pistol. Upon delivery of the pistol I demonstrated the features of the reflex sight and then had the Owner run thru the functions for me. With his arm extended as to sight the pistol he said “no dot does it work” I smiled and told him to very slightly tip the barrel down, as this is common with switching from irons to a reflex sight until you learn new mussel memory. Once visible and the expression on his face, I believe we have another reflex sight convert! As with any project that is somewhat unusual creativity and vision will most likely have you delivering a quality product. This Colt Woodsman pistol now fitted with a modern reflex sight will likely see more enjoyable time in the hands of an old Woodsman with new eyes.


Colt  Woodsman pistol as delivered with reflex sight


Right On Dead On All The Time

Leave a comment

Filed under Uncategorized

22-284 load data booklet avaliable.

Fresh from the printers a collection of  22-284 Winchester wildcat cartridge load data, cartridge history, test data, collection of information from 1964-2019. Get your signed copy today. Pm me for details.

.224 overbore

Right On Dead On All The Time

4 Comments

Filed under Uncategorized

Send It

This spring warmer temps will have you sneaking out to the range to pop some primers and send it.  After a cold winter shooting season anything above 20 degrees feels like balmy weather. I spent several 4 degree days tuning 300 BlackOut subsonic loads with 180 – 265 grain bullets. Now that’s a bit difficult to keep 300 Blk loads subsonic and sub-moa out to 100 yards during the dead of winter. Challenging? Yes, however, the lessons you learn on case volume fill and powder position in the case will add volumes to your skill on producing accurate and consistent super sonic cartridges of different designs. After shooting minuscule recoil subsonic loads with the 300 BlackOut the hard push of up to 3800 fps feels rather pleasing.


This is a collection of memories of range days spent burning powder and enjoying recoil.


Remember the 2nd Amendment is your right and YOU need to stand up for it. Then we ALL can enjoy the freedom of it.

Right On Dead On All The Time

Leave a comment

Filed under Uncategorized

Cross Hair Considerations – What’s A Few Clicks Among Friends?

Reticule Cross Hair Placement on Game at Various Distance for Clean Kills

Pre-Season range work will pay off in your confidence of knowing where the shot will land. Do you know hunters that pull ole reliable out the week before hunting season and shoot at the proverbial pie plate at 100 yards? That’s a large window for shooter error not to mention any impact shift if you change the scopes magnification.

Fall/Winter brings on cooler weather and prompts hunters to drag out the guns from last hunting season. Some are cleaned, others, well not so clean. This month I want to discuss optics that drift the point of impact when you change the variable magnification of the scope.

Conventional optics use an erector tube that houses the reticule while spring tension moves the tube when applying or decreasing pressure via the scope turrents. Yes, optics point of impact will shift during magnification change. This is more evident with second focal plain optics than first focal plain scopes. One easy method to help lesson the effects of less erector tube spring tension flyers is to always increase magnification before the shot. If you lower magnification for any reason, turn to a lower setting than you want and just bump the setting up to your desired power. What this trick will do is put positive spring pressure on the erector tube to help stabilize the zero.  Ever see guys smack the scope after adjusting clicks? Yes, they are trying to stabilize the spring tension. Today we will look at  a totally different type of optic, the digital electronic version. ATN Smart Optics makes a day/night scope. It’s a X-Sight II HD. I told you about them in a previous post and with the help of some fine tuned 300 BlackOut rounds we will test point of impact drift during a range session.

300 BlackOut loaded with converted Lake City 5.56 brass, necks turned to a even .012″ and a stiff charge of IMR 4227 ignited with a CCI 400 primer. The bullets are Sierra #2124 135 grain varminters made just for the BlackOut velocities and they are darn fine shootin’ bullets. At 100 yards, this load will group sub-moa consistently.

Cold temperatures and changes in humidity will play havoc on those finely tuned hand-loads not to mention factory loads too. A good grouping load will shift point of impact in colder weather and when you are zeroed in on that one split second shot at winter freezer meat, then what just happened? A miss? It happens ballistics are math and high humidity is science and equals thinner air (less drag), colder temperature lowers velocity (and chamber pressure), so what to do to keep a good all weather zero?

Point Blank Zero

Point Blank Zero is what I use for hunting loads and it all focuses on what game you are hunting. Varmints need a smaller kill zone while deer will need about an 8″ kill zone. Yardage must be determined with a maximum effective range of the selected cartridge as the bullet drops under the line of sight. Think of an oscilloscope screen with the flat line as “line of sight” and the sign wave curve as bullet high/low trajectory. Now with the deer example, an 8″ kill zone would allow 4″ above the line of sight and 4″ below the line of sight for a total minimum/maximum elevation window of 8″. Some information needs to be known to do the ballistic calculation for point blank zero and that will be typically: Bullet weight/diameter, Drag function, Ballistic coefficient, Elevation, Temperature, Humidity, Velocity and Max Distance. These are just a sample and the specific ballistic calculator program that will specify needed info.  I’ll list my 22-284 Winchester varmint hunting load as an example.

22-284 Winchester

75 grain A-Max

Velocity 3488 fps

Zeroed at 230 yards; Maximum trajectory height 1.58″ at midrange of 137 yards; -1.58″ at point blank range of 268 yards

This window allows no aiming correction from a dead on zero hold, out to 268 yards with this load. That’s a 3.16″ kill zone out to 268 yards, no hold over needed.


The fact that you have bullet impact anywhere in the point blank range will allow for some weather condition deviation on impact. We are not looking for pin point benchrest groups just kill zone area impacts. As an example, during a  2017 hunting season a Michigan White Tail deer presented an opportunity for filming the 10 point buck that was in my kill zone zero with the 300 BlackOut. The impact of the bullet was a solid hit thru the shoulder plate and then fragments exited thru the neck. I was well within my point blank zero so no consideration to sight correction was needed. A clean kill and dead in his tracks.


ATN offers an interesting option to shooting with conventional optics with the X-Sight II HD 3-14 scope. You can utilize a program called “Smart Shooting Solution” to make distance corrections in the menu. A ballistic calculator is turned on and a range is selected. The operating system makes the reticule correction and you just hold center and shoot. Now this is not a point and shoot quick adjustment to make, however, if you have time to push a few buttons and set up the shot it’s very accurate. I was shooting 300 BlackOut subsonic loads at 50 yards and decided to push them out to 100 yards. To check out the program, subsonic velocities are in the 1000 fps range and this load will drop 3.75″ at 100 yards. The day I shot the test was cold, 20 degrees with 95% humidity so the air was thin, less drag. You guessed it, bullets hitting high would be the assumption. I input the corrected weather conditions and applied the ballistic calculator function for 100 yards. This was the results.


Going a bit further I moved out to 200 yards on another day. Again adjusting the ATN X-sight for the huge elevation drop of the Rainier Wedge 180 grain sub-sonic loads.


To sum this all up it doesn’t matter if you choose to use a digital optic or a conventional optic. Current weather conditions will need to be considered for correct shot placement in the kill zone. With a Point Blank Zero you will be able to hold dead on without consideration of environmental conditions (wind is an exception). Time spent at the bench tuning the zero while twisting turrents always pays off when the pressure is on to make that quick shot while hunting.

Until next time, get some bullets in the air to tune your Point Blank Zero!


Right On Dead On All The Time

Leave a comment

Filed under Uncategorized

Mauser Central.com Hacked

Remember this forum header?  It was a sad day when the site was hacked and all 4,700 members data lost. I wanted to post that the site is up again under a new, but similar name (.net) and starting to rebuild the valuable Mauser info. You can find the new site at:

http://www.mausercentral.net


Until next time


Right On Dead On All The Time


Leave a comment

Filed under Uncategorized

Honey Badger – Don’t Care

Honey Badgers are an intruding animal and they are just plain mean. Maybe that’s why Advance Armament Corporation creator Kevin Brittingham developed a light weight mean devil of a rifle and named it the “Honey Badger”.  Chambered in either the heavy hitting 300 BlackOut or a military 5.56 Nato cartridge, the original Honey Badger is less than 5 pounds without optics and ammo.  If you crawl around the web you will find plenty of info on Honey Badger rifles and their clones.  That brings us to this build.

We start with a bench full of parts, a maximum rifle weight in mind and compact total length (keeping well longer than a short-barreled rifle and overall length within legal limits).  Another critical factor is to build a Honey Badger “clone” without needing tax stamps.  For a short-barreled rifle and silencer it will need to be agile and quick handling for a “SHTF” rifle and be able to digest the most readily available ammo around 5.56 Nato.  Mil-spec parts interchangeability will be mandatory throughout the building process.  An interesting note is that even with a mil-spec two-stage fire control group, I found a manufacture of a flat trigger that really impressed me.

Starting with a lower receiver made of polymer was a step in a direction.  Originally I wouldn’t have chosen this, however, after reading up on Polymer80 lowers I needed to see if the claims were accurate.  The second generation Phoenix2 lower receiver kit contains all the needed tooling and jig to machine the fire control group and once set up in the Bridgeport mill, the process was enjoyable.  Is the Polymer80 lower as strong as an aluminum lower?  The reviews are mixed.  I figured Glocks have been manufactured in polymer for sometime now so lets try one out.

The fire control parts group was from DPMS and fit perfectly.  I did change out all the springs for lighter trigger pull and tactical reset.  That was accomplished with Wolf & Taylor Tactical springs.  Another swap was with the trigger as mentioned earlier. Bull Moose Tactical offers a mil-spec flat trigger for the AR fire control group.  Keep in mind, this is not a drop in replacement part. The disconnector will need to be hand-fit to the trigger, otherwise safe operation will not be possible and hammer follow will occur along with failure to reset.  Once fit and correct operation is obtained you’ll end up with very short trigger creep, quick reset and nonexistent over-travel.

Let’s think about collapsible minimalist buttstocks.  You can find several styles while searching with prices ranging up to  hundreds of dollars.  I wanted a unique look, light-weight, choice of colors and affordable price.  I picked a Strike Industries Viper CQB flat dark earth stock.  You can only use a mil-spec buffer tube and that fit my build ticket well.


With the lower complete and looking good, an upper receiver was next.  Noreen Firearms offers a nice looking one without the forward assist, billet aluminum for strength and lighter weight for the Honey Badger weight goal.  Once pinned to the lower, the fit was snug with no slop.  A custom dust cover seems to be the rage with custom etching on them.  Tactical Gun Parts had a Honey Badger cover in flat dark earth.  I figured “Honey Badger don’t care” and it sets off the flat black upper nicely.

Selecting a barrel in 5.56 Nato with an M4 tapper keeps the quick pointability and agile handling of the rifle.  At 16″, no tax stamp is needed.  Since it’s not a short-barreled rifle, I went with a 1-8 twist chrome molly barrel gassed with a carbine port.  The bolt and ambidextrous charging handle are Lakota Ops sold thru Omega Manufacturing.

Covering the M4 tapper barrel is an Omega keymod 15″ free floated handguard, then painted smoke gray.  The handguards, 2″ O.D., allows plenty of room for the carbine length gas block and a Black Moose 1.5″ x 6.5″ brushed aluminum barrel shroud.  I found Black Moose while looking for faux suppressors (no tax stamp) to give the impression of a short-barreled rifle.  The cool factor won me over and yes, it’s still loud.   A barrel shroud threads flush with the muzzle while covering the barrel behind it and they are very light weight.

     Yes a faux suppressor is cool looking

The completed build weighed in at 7.2 lbs without the SightMark digital reflex sight or magazine.  Not bad for a 16″ barrel.  Balance felt good too.  It didn’t feel overly muzzle heavy and the 100 round drum magazine would only be useful during a zombie invasion.


Sources:

strikeindustries.com

polymer80.com

bullmoosetactical.com

taylortactical.com

onlylongrange.com

omegamanufacturing.com

tacticalgunparts.net

blackmooseqed.com


Burn some powder, send some freedom seeds down range and get your concealed carry permit.   It’s your 2nd amendment right!


Right On Dead On All The Time


1 Comment

Filed under Uncategorized

ATN X-Sight II HD Day/Night Optics

ATN X-Sight II HD Optics;


Every now and then you stumble upon an item you really don’t need. However, the technology interests you and there you are, receiving another package from Fed-Ex. I am looking at the ATN X-Sight II HD 3-14 day/night scope. This is not a conventional scope you are familiar with – as it is 1080P digital. When you look thru the eye piece you are viewing a video image of the field of view. This totally eliminates the need for parallax correction on your part. No need to adjust for varying distance to dial in correction of focus. A link is listed for the manufacture site to show all the features in-depth.

https://www.atncorp.com/x-sight2-hd-day-night-rifle-scope-3-14x

img_20161212_185433

I mounted the X-Sight II on a AR15 and had no trouble with gaining a good clear view of the eye piece video image. The scope is well build and solid. It has focus correction on the eye bell and once set you don’t need to readjust. The objective end has a focus adjustment by means of a small dial on top of the main tube (very handy and out-of-the-way). Moving to the rear on top of the scope are the function key pads and are all-weather proof for those wet hunting trips.

atn3

Complete directions for use and function are explained in detail on the web site and I found navigating the menu to access different modes very easy and straight forward. It is a bit heavy at 2.5 lbs, however, you are mounting a mini computer/video/ballistic drop calculator to your rifle. The left side has a rail for mounting a infared illuminating light for those times when additional I.R. is needed. Two covers on the right side are for batteries and micro hdmi/sd card/usb ports.

atn4

4 AA batteries power the processor and are sealed with a weather-proof cover (large cover). Ahead of the battery cover are the micro ports. Now for the cool technology stuff! 1080P @ 30 frames per second along with video streaming via wi-fi and geo tracking. Just load the app to your phone or tablet, link to the scope and you have live feed video and capabilities to adjust functions of the optic. Another feature is recoil activated video or continuous video  all with 64Gb of storage.

img_20161228_185110

Want to zero your rifle in one shot? With the ATN X-Sight you can! Use the zero reticule function, put a round down range on target, push enter and now move the cross hair to the point of impact while not moving from point of aim. Push enter and you are zeroed! This scope is more fun than a new Moto X Pure smart phone.  Did I mention the shooting solution system that calculates elevation and windage corrections? Other features are built-in barometric pressure and altitude sensors and you will need to enter current temperature and wind speed. With all external elements and ballistic data for the given cartridge entered the Shooting Solution System will compensate for drop and windage. While viewing an image you can snap a still shot/burst shots or video the hunt. For those surprise game shots there is a recoil activated video function that will record video before and after recoil is detected…..How cool is that?!?

Reticule style is user picked from a variety of shapes along with various colors. When things get dark outside a push of a button switches to night vision. You can pick either black and white or green and white. I purchased the additional 16000mah battery pack that will keep feeding 1.5 volts to the processor for uninterrupted operation for 20+ hours.

Once you purchase an ATN X-Sight optic or any ATN product, I suggest joining the Facebook support page (ATN Smart HD Owners) and http://www.atnowners.com. Between the two sites any issue you have can be answered in minutes. It will seem a bit overwhelming at first, however, once you digest the info its second nature to use.

In conclusion, this ATN X-Sight II HD optic is a great value for the ability to record video, live stream, use at night and have ballistic calculations done for you. I only wish I had bought one sooner.


Now get out there and own the night with an X-Sight!!


MOA-page-001

Right On Dead On All The Time


Leave a comment

Filed under Uncategorized

300 BlackOut, part 2 – Transonic flight

300 BlackOut

The first post on the 300 BlackOut described the cartridge and development. Since then I have spent some time at the reloading bench and range getting to know the round. Depending on your shooting desires you may opt to use factory ammo and be happy with the results, as for hand loaders we are intrigued to experiment with components seeking the sweet spot of a cartridge/rifle combination. Most articles will talk about light Supersonic velocity rounds or heavy Subsonic’s, with not much talk about the middle weights (168grain to be specific) bullets. I choose to load with the 168’s for reasons of proving they will shoot sub-moa groups at 100 yards all while starting out at Supersonic velocities then after the transonic region maintaining Subsonic velocities well into the 550+ yard range.

Another topic I will discuss will deal with tuning the AR15 upper barrel nut torque and clocking the flash hider if used. Tuning a specific load to best match barrel nodes of vibration will produce good results if you have the patience and proper tools to test various combinations.

img_20161113_184424  300-blk

I started load work with a Leatherwood CMR 1-4×28 optic then switched to a Cabela’s 4-18×50 for more magnification.

***LOADS LISTED SHOULD BE REDUCED BY 10% FOR USE OTHER THAN IN THIS TEST RIFLE****

Starting off at the reloading bench with quality prepped brass is critical with any loading process. You might convert military brass from 5.56 to 300BLK or use commercially manufactured brass (do not mix the two as brass wall thickness will differ and case pressure will change). I deburr the flash holes, file trim cases and F.L. resize, most reloading books will list H110 and AA1680 as the go to powders and I started off with a H110 equivalent powder (W296). With an AR15 platform I seated bullets out to max magazine length to start with and once a good powder charge was found then the bullets were seated deeper by .05” increments to test accuracy. 168 grain hollow point boat tail bullets were selected and a Lee factory crimp die set to a medium crimp this held the cartridge overall length without set back after repeated chambering. I really wanted W296 to be “the powder” for this rifle and some groups would print a nice clusters at ½” centers while others would open to +1”.  15 grains of W296 produced the best accuracy sometimes and that proved to me it was time to run some data thru Quick Loads to compare other powder.

img_20161016_105414 img_20161212_184633 W296 powder would not group consistent enough at 100 yards.

I won’t go into all the ranges of powder I tried while looking for the sweet spot charge, and while in the Quick Load program crunching numbers with IMR 4227 I noticed predicted velocities were a bit slower than with W296.  At 50 fps slower velocities the IMR 4227 had a better node of vibration for bullet muzzle exit so test loads were built up and groups were evaluated. CBC Industries built the AR upper equipped with a free float hand guard, flash hider and heavy 16” barrel, the workmanship was excellent and trouble-free function. However occasional first and last round flyers would crop up and that just frustrated me as I spend careful time building ammo as precise as I can. I settled on 14.8 grains of IMR 4227 with 168 grain HPBT bullets tucked inside Lake City converted brass and ignited with CCI400 primers, I ended up dropping down to 14.6 grains and really shrunk the groups as you will see in the below photos. While scrubbing out the carbon and copper from the barrel I remembered an article printed in a tech magazine talking about tuning an AR15 barrel nut torque for accuracy. The theory is that more or less torque applied to the barrel nut will adversely affect barrel vibration when a cartridge is fired. This was very interesting as military match rifles cannot be modified for competition “as issue” configuration is the rule, tuning the barrel nut is not modifying the rifle.

Range tuning the AR is not a quick process especially with optics mounted, the process goes as follows.


  1. Use proven accurate loads
  2. Shoot a group and note size and barrel nut torque
  3. Strip upper for clamping in clamshell fixture in vise
  4. Note current barrel nut torque
  5. Adjust more or less torque to nut and note FT. Lbs
  6. Assemble
  7. Shoot anther group
  8. Repeat
  9. Note when groups became smaller or bigger


After adjusting the nut torque it will become evident whether you need more or less torque as group size will dictate FT. Lbs. as a note 35 FT. Lbs is the minimum I would torque a barrel nut to without a thread locking agent. I found the nut torque to be at 80 FT. Lbs. on the factory assembled upper and after the tuning process I settled on 35 FT. Lbs. Another interesting point the author made was indexing a flash hider with a solid bottom section. As with an “as issue” match rifle slight clocking of the flash hider is not a noticeable item, and yes it will fine tune a load to some degree. I found between 1 O-clock and 3 O-clock will be enough indexing to tune a good load.  If you hit the barrel nut torque with vibration node spot on you won’t notice much improvement with indexing the flash hider.

Typical 100 yard groups shot with a 300 BlackOut and 168’s at supersonic velocity when you find the right powder, in this case it was IMR4227 @ 14.6 grains

300-group-jpg-edit      img_20161112_121457

yes I pulled the fourth shot on the right hand target.


Load development with several components    img_20161212_184959

Measuring to the ogive for consistent seating depth img_20161212_185129


The Transonic region:

Flight thru the Transonic region results in bullet yaw becoming unstable thus affecting trajectory and accuracy. The idea is to set the distance at which bullets go thru the Transonic region as maximum distance. From the muzzle downrange the bullet loses its initial speed due to drag and reaches the “Transonic region” when the speed hits Mach 1.2. Continuing on it crosses the sound barrier at Mach 1, exiting from the Transonic region when its speed falls below Mach 0.8. In the case of the 168’s loaded in a 300 BlackOut as can be seen in the table, 500 yards would be maximum range (1,125 fps is aprox. bottom of Subsonic velocity)


Yards                    Velocity                                                          Energy

100                        1558                                                                 905

200                        1428                                                                 760

500                        1129                                                                  475  exiting Supersonic

——–Transonic Region——-

800                        970                                                                   351   Subsonic region

1000                      901                                                                   303

Elevation 662,  Pressure 2944,  Temperature 45F

As with any drop chart corrections in elevation will be needed to assure hits. This chart also shows good Subsonic velocity out to 1000 yards.


Supersonic bullets need to be stable for accurate flight and Subsonic bullets alike, a term often used regarding stable bullet yaw  is to “go to sleep“. The theory is to get the bullet to go to sleep as quickly as possible thus taking advantage of a better trajectory. The Transonic region will disturb this sleep and then hopefully regain stable flight once in the Subsonic region.  Most Subsonic loaded ammo start out at less than 1000 fps thus running out of velocity and energy sooner.           Only experimenting at longer ranges will prove the ability of a load to perform good out to the Subsonic region, the idea I am toying with is to shoot a mid-weight bullet at Supersonic speed thru the sleep stage and hopefully send it back to sleep way out in the Subsonic region. With winter here in Michigan I will be able to stretch out my shooting distance at the range in hope of sending these 168’s to sleep.

This is a sneak peek of the optics I will be reviewing soon!

img_20161212_185433ATN X-Sight II HD 3-14 scope. 1080 p video, wi-fi, geo tracking, day/night vision and ballistic shooting solution system.


It’s December and Christmas is upon us. Get out and enjoy time with family and friends celebrating the birth of our Savior Jesus Christ. While others are drinking eggnog and watching the game on the flat screen try to sneak out and send some bullets to sleep.


MOA-page-001

Right On Dead On All The Time


Leave a comment

Filed under Uncategorized